Microsoft Office 365 journaling setup with Area 1
For customers using Microsoft Office 365, setting up a phishing risk assessment with Area 1 and a journaling setup is quick and easy. The following email flow shows how this works:
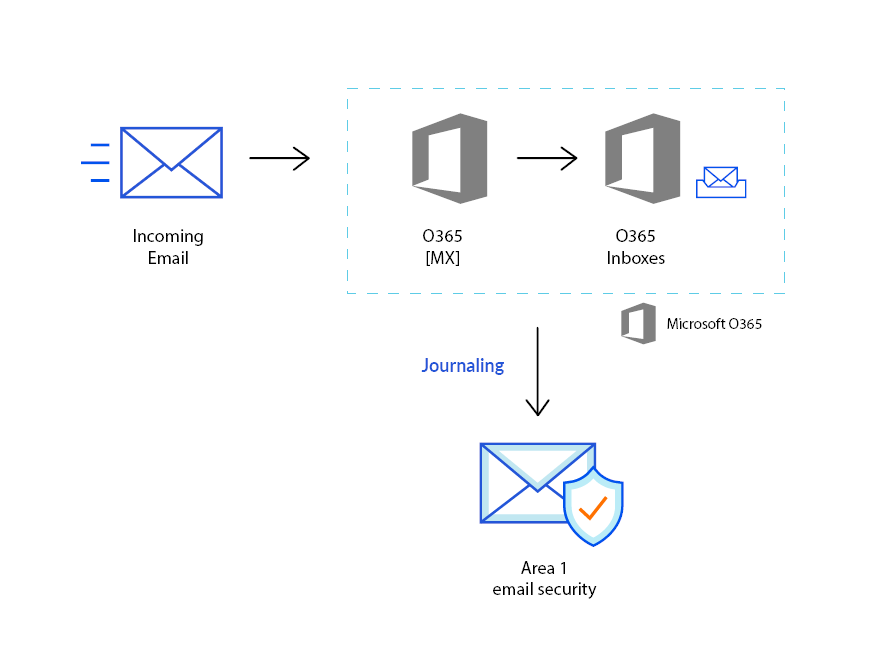
Journaling
1. Configure connector for delivery to Area 1 (if required)
If your email architecture does not include an outbound gateway, you can skip this step and proceed to the next one.
On the other hand, if your email architecture requires outbound messages to traverse your email gateway, you may want to consider configuring a connector to send the journal messages directly to Area 1.
Log in to the Exchange admin center, and go to Mail flow > Connectors.
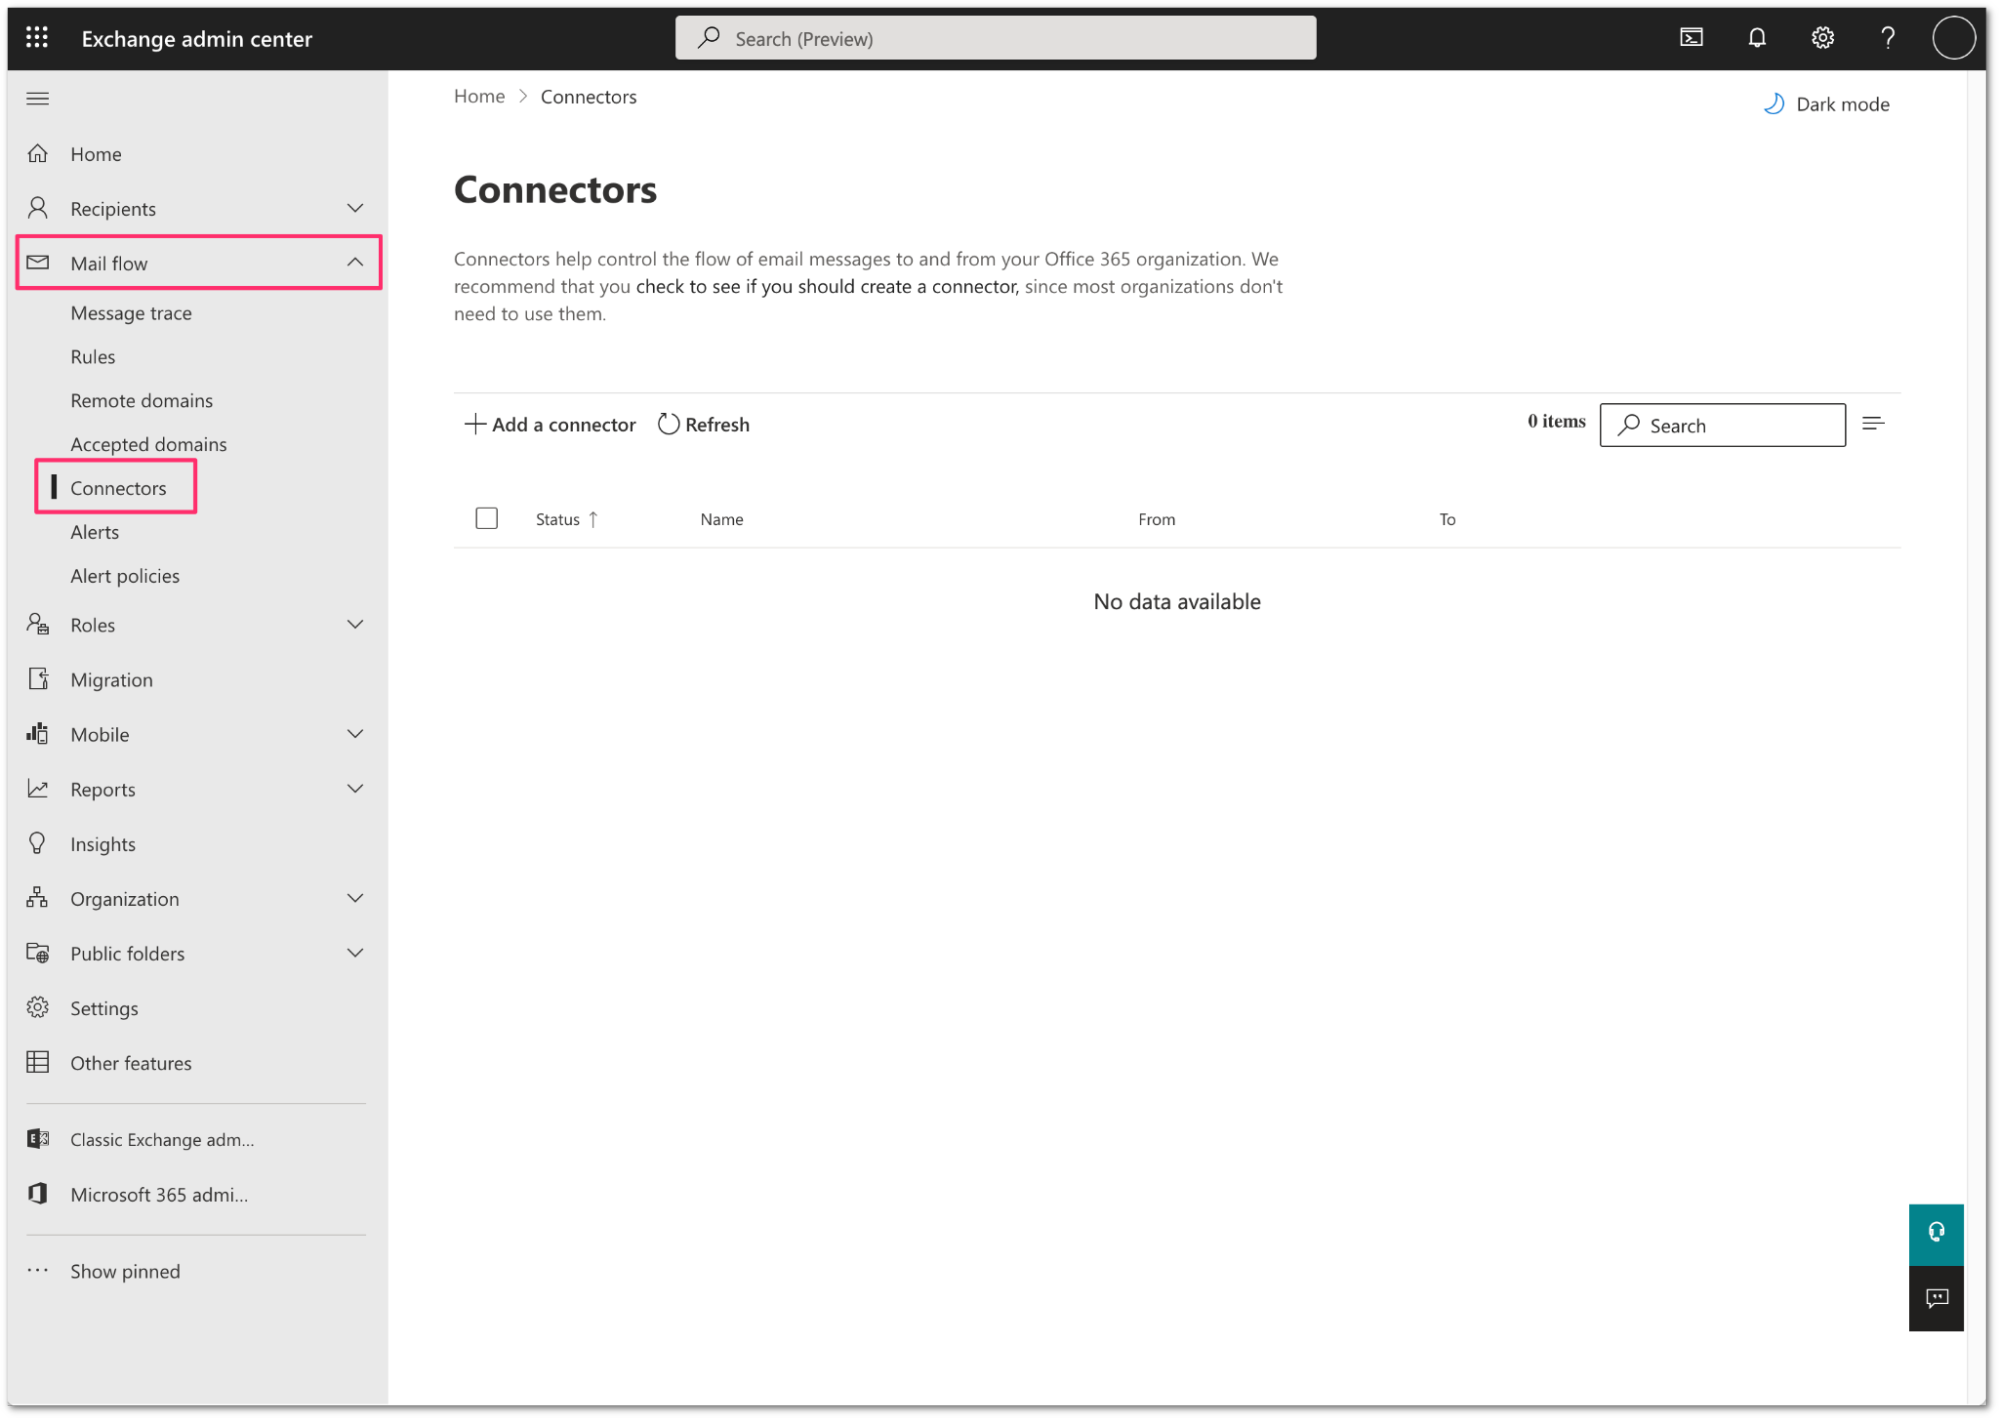
Select Add a connector.
Configure the new connector as follows:
- Connection From: Office 365
- Connection to: Partner Organization
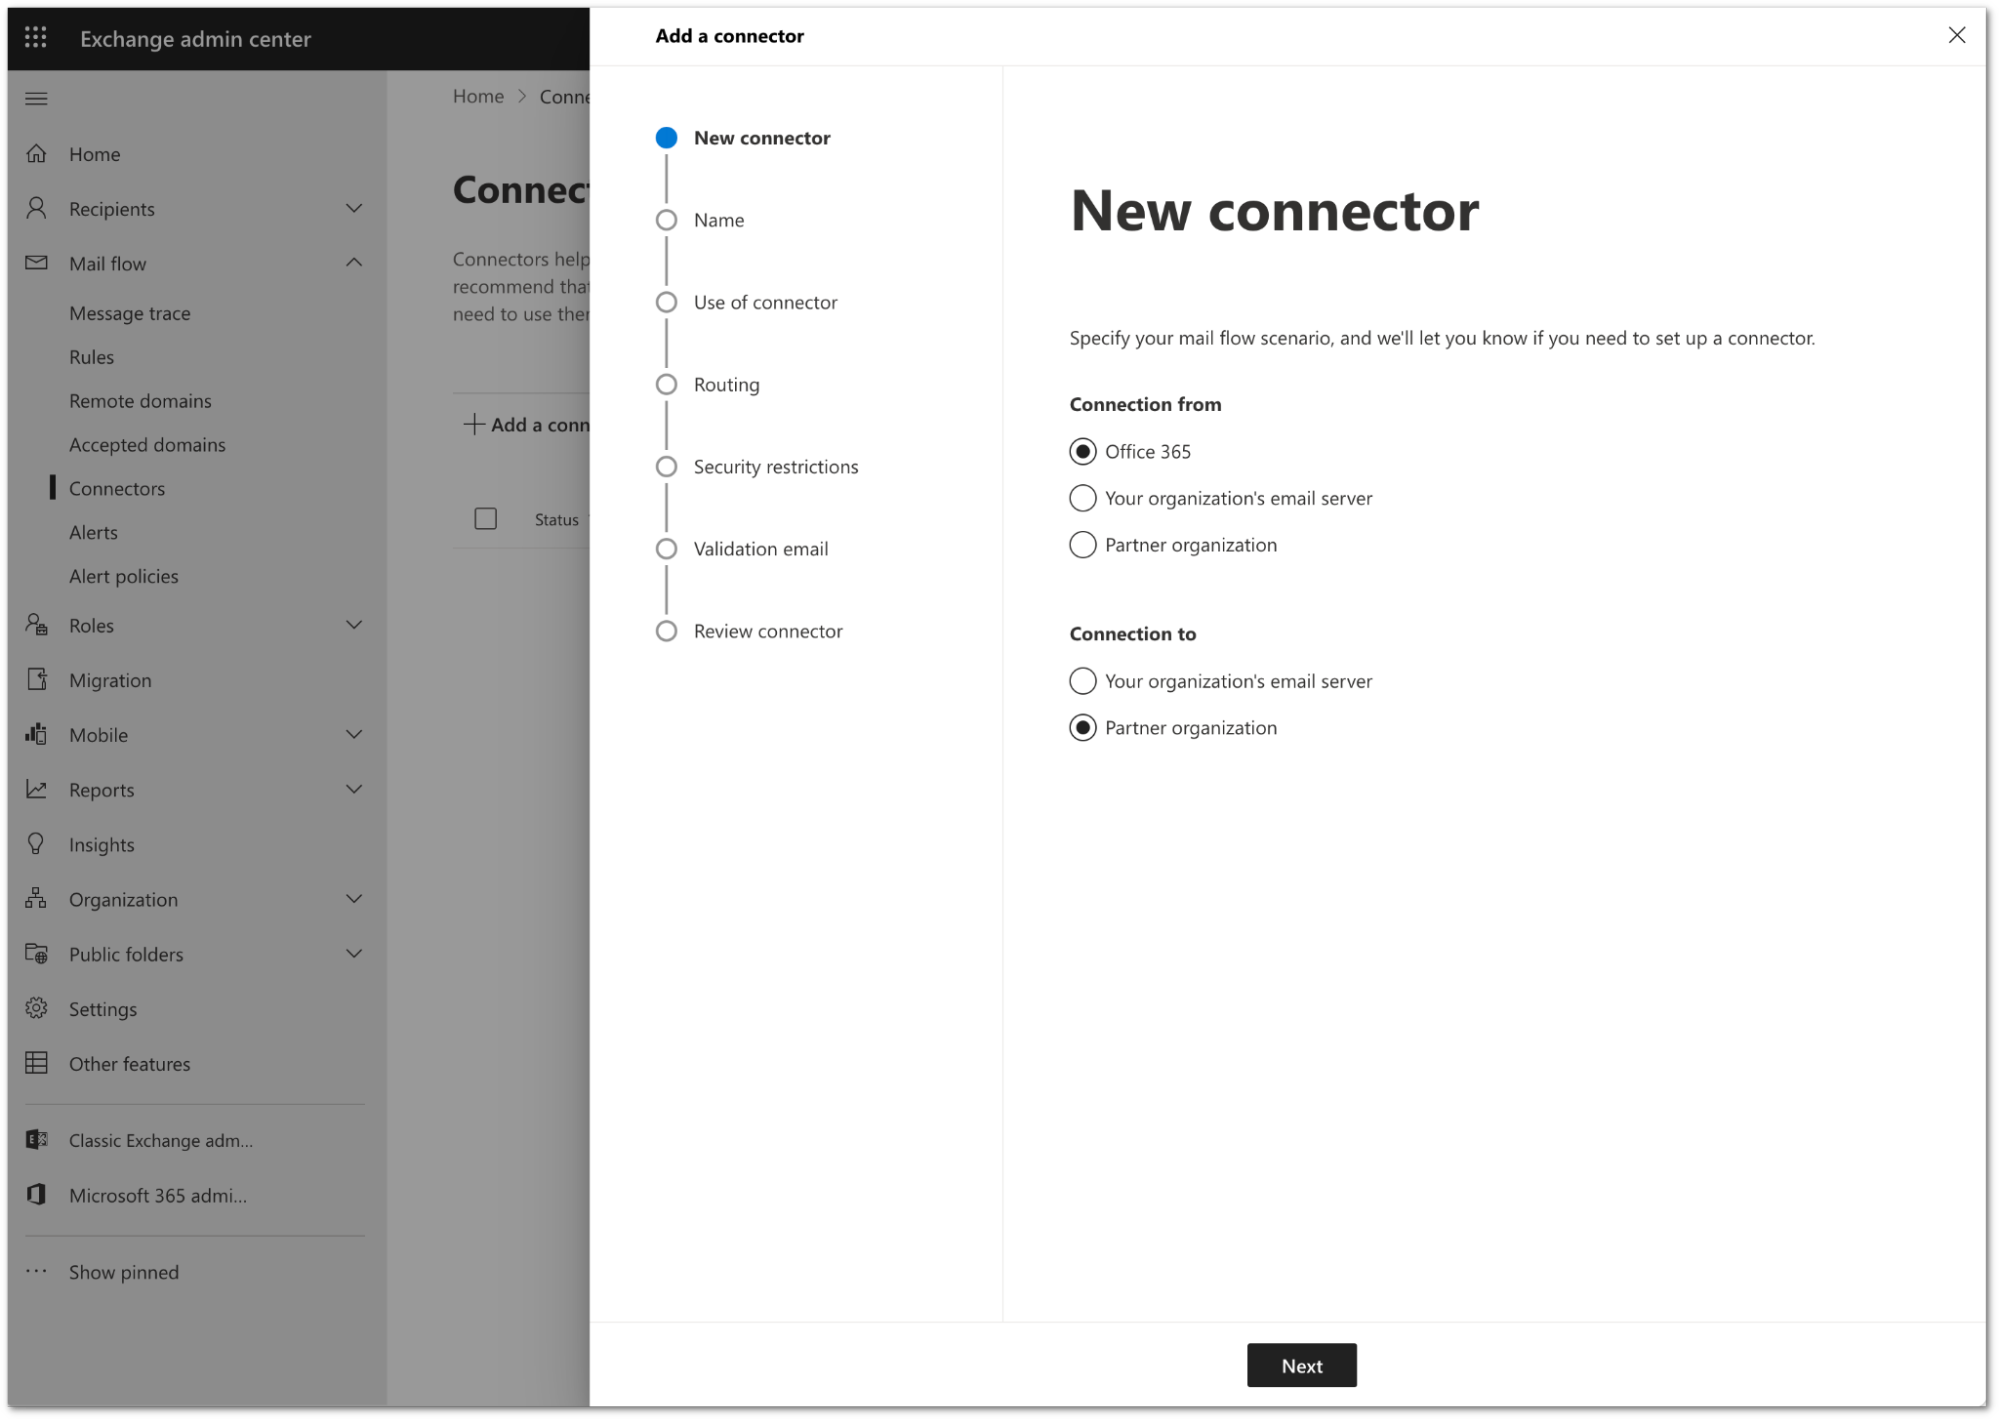
Select Next.
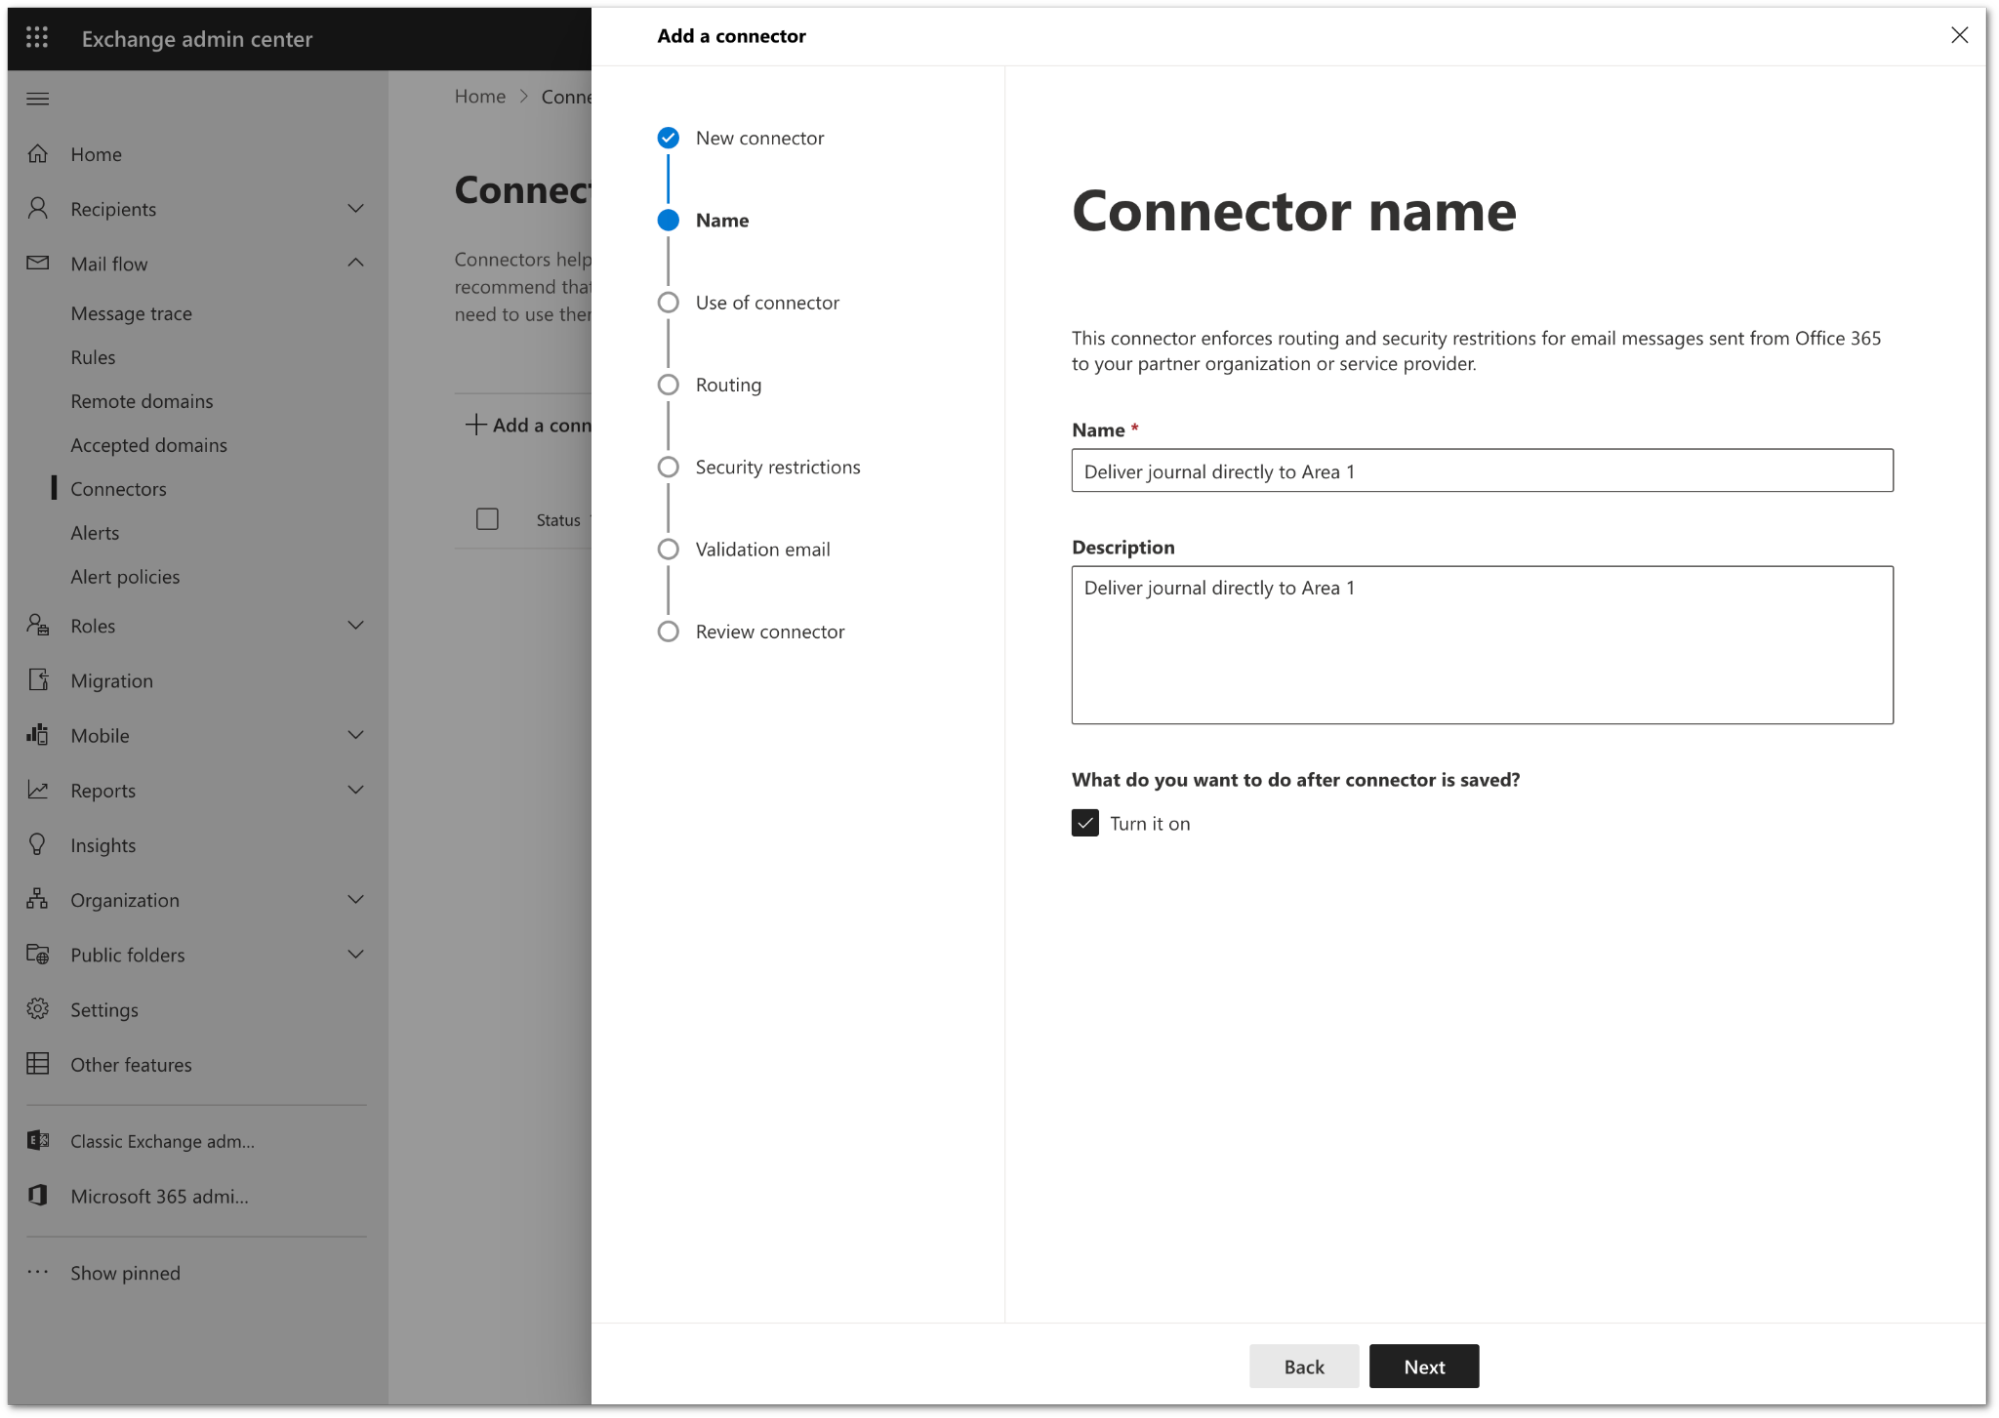
Configure the connector as follows:
- Name:
Deliver journal directly to Area 1 - Description:
Deliver journal directly to Area 1 - Turn it on: Enabled.
- Name:
Select Next.
Configure the Use of connector setting as follows:
- Select Only when email messages are sent to these domains.
- In the text field, enter
journaling.mxrecord.io, and select + to add the domain.
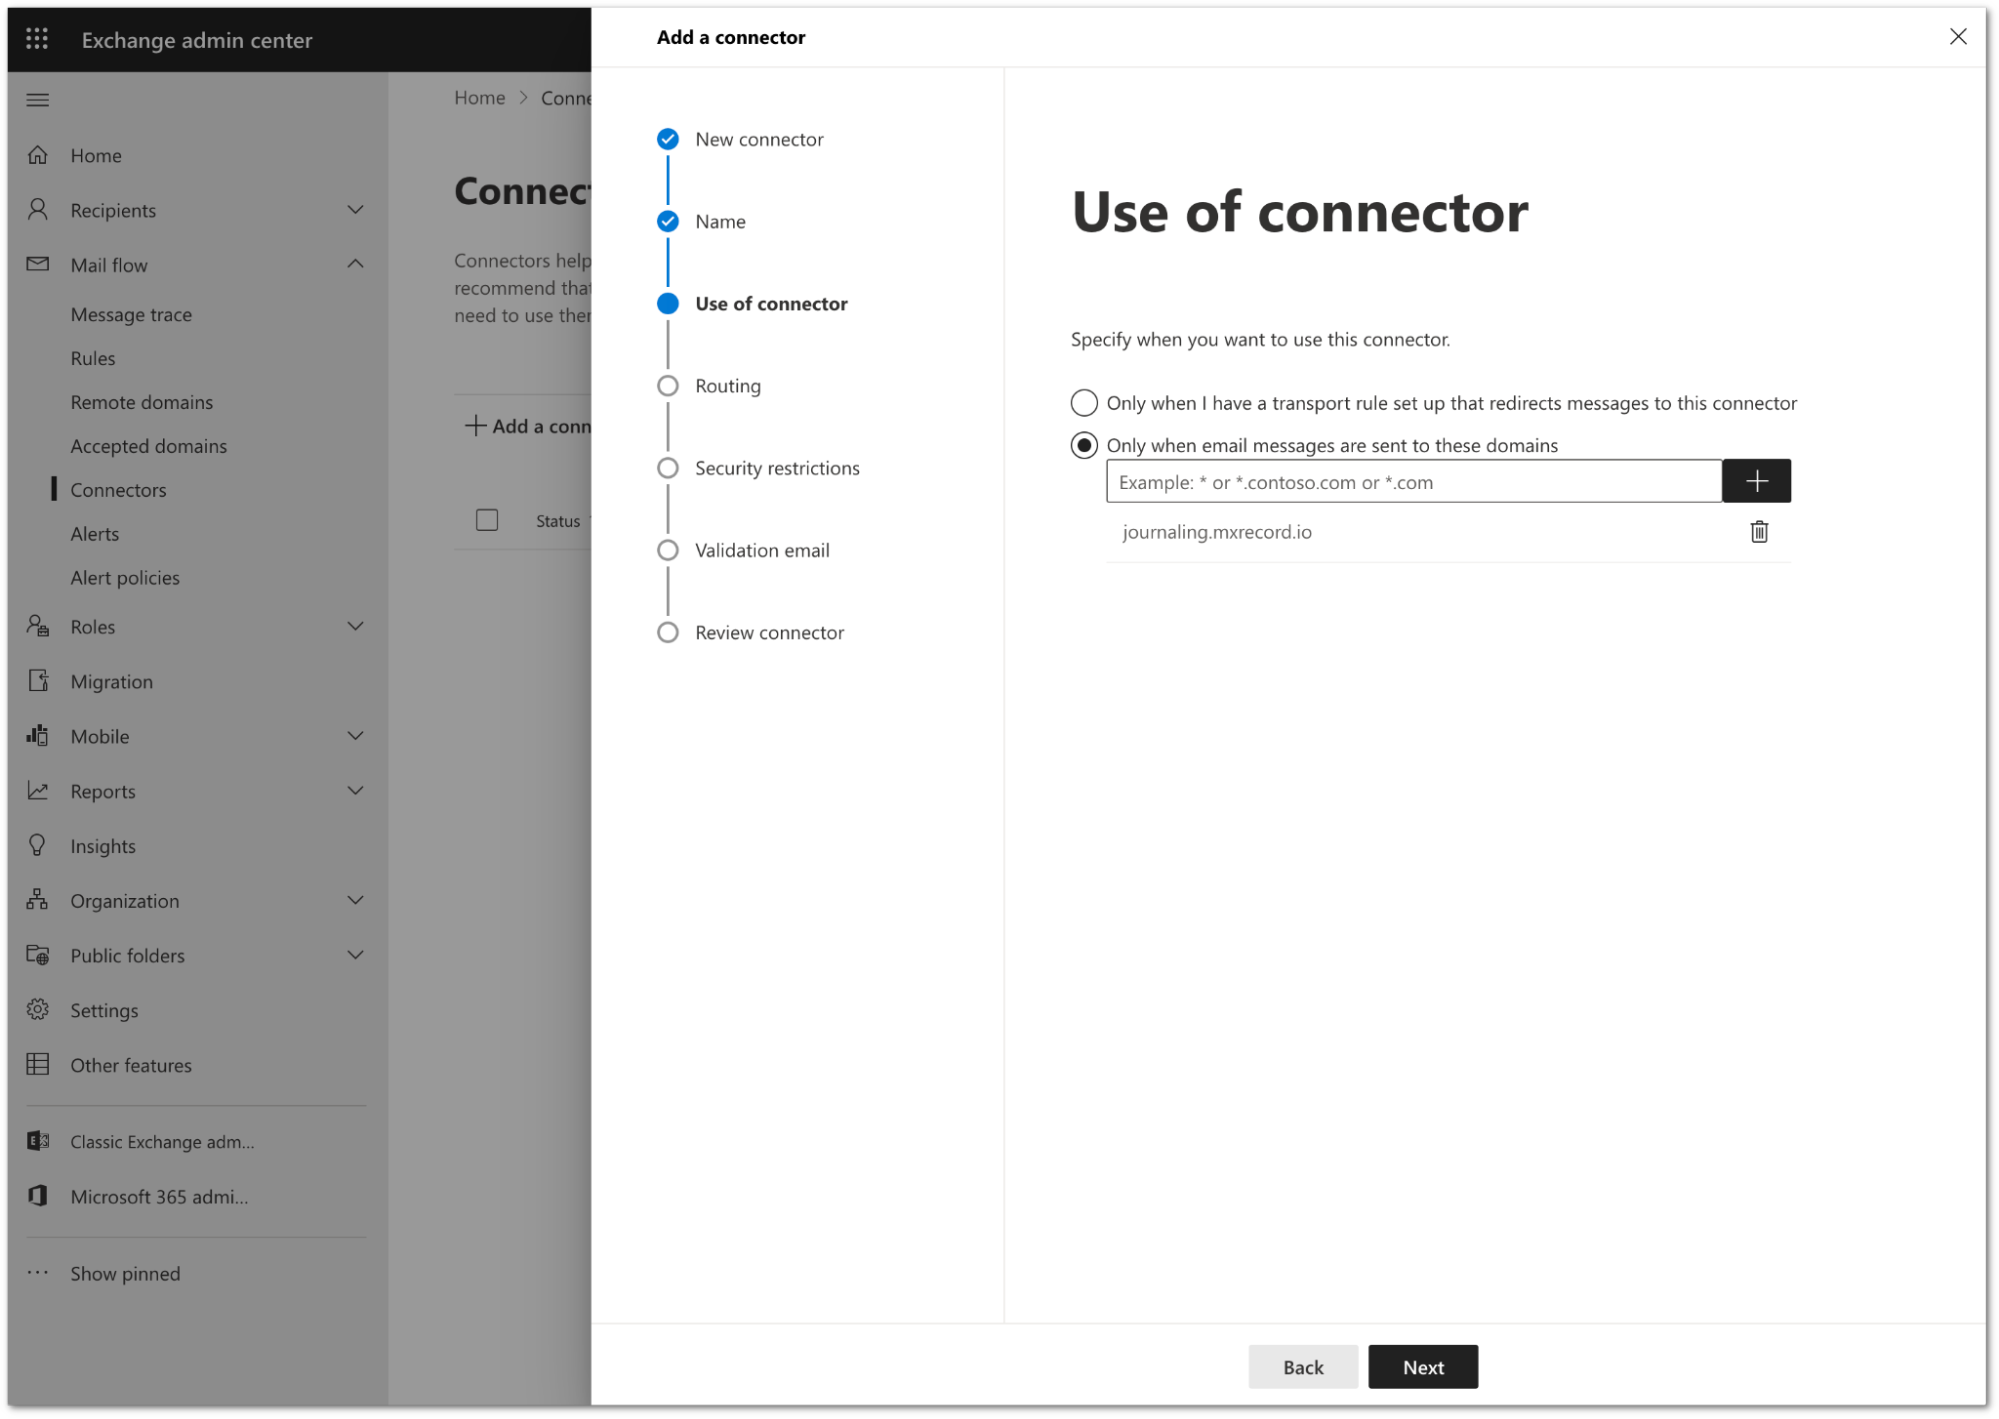
Select Next.
Configure the Routing setting as follows:
- Select Route email through these smart hosts.
- In the text field, enter the following
smart hosts. Select the + button after each host to add it to the configuration:
mailstream-east.mxrecord.iomailstream-west.mxrecord.io
- If there is a requirement to enforce traffic through the EU region, use the following smart host instead:
mailstream-eu1.mxrecord.io
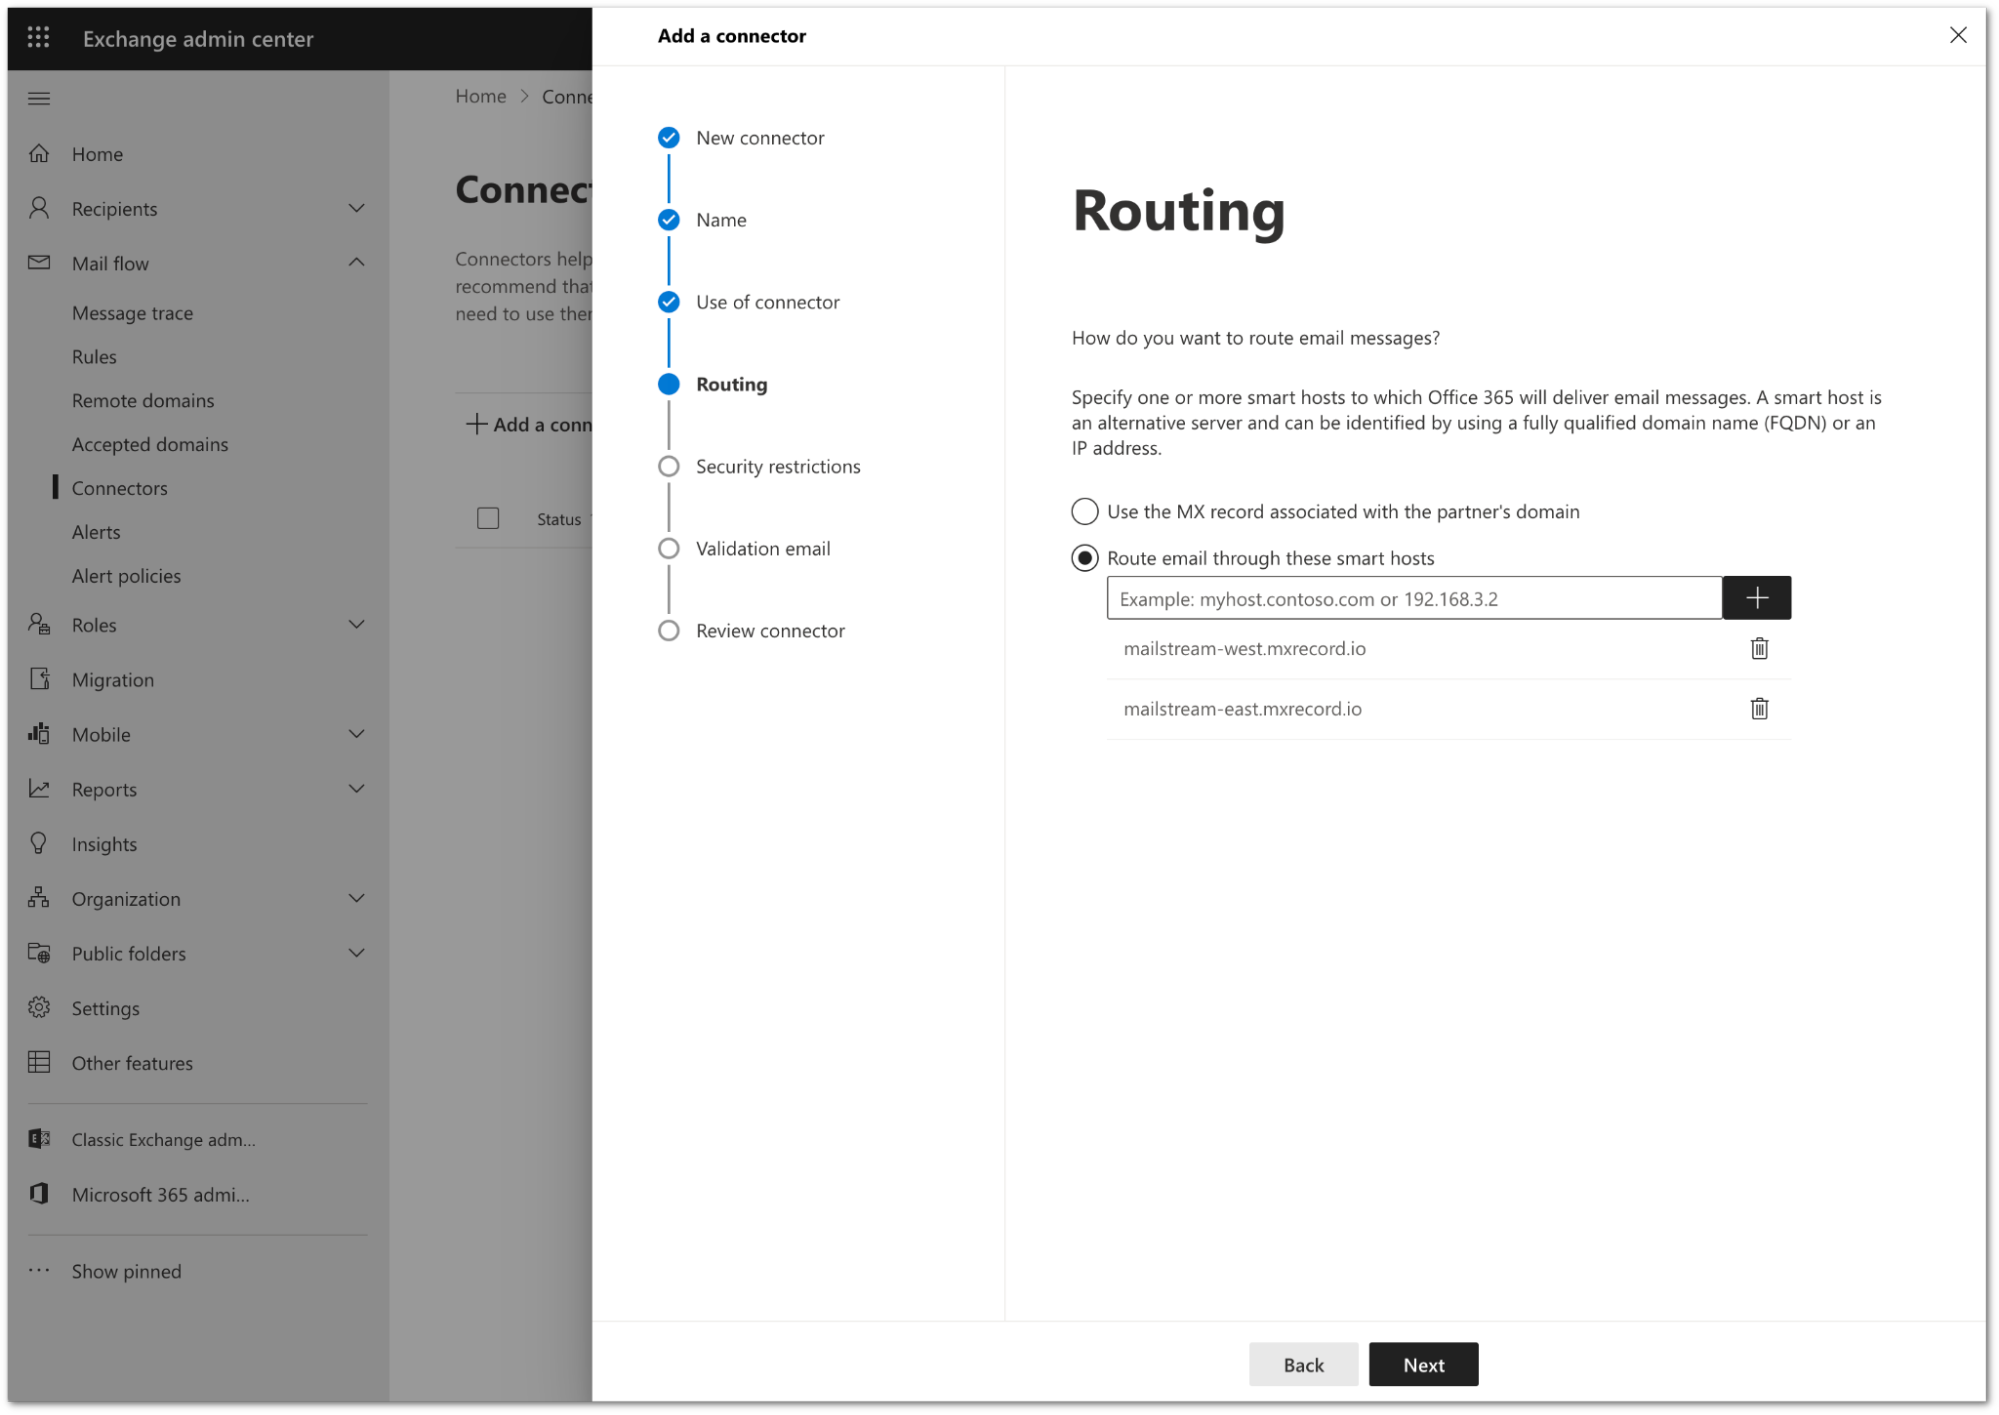
Select Next.
In Security restrictions, you need to keep the default TLS configuration. Review the following settings:
- Make sure the Always use Transport Layer Security (TLS) to secure the connection (recommended) checkbox is selected.
- In Connect only if the recipients email server certificate matches this criteria select Issued by a trusted certificate authority (CA).
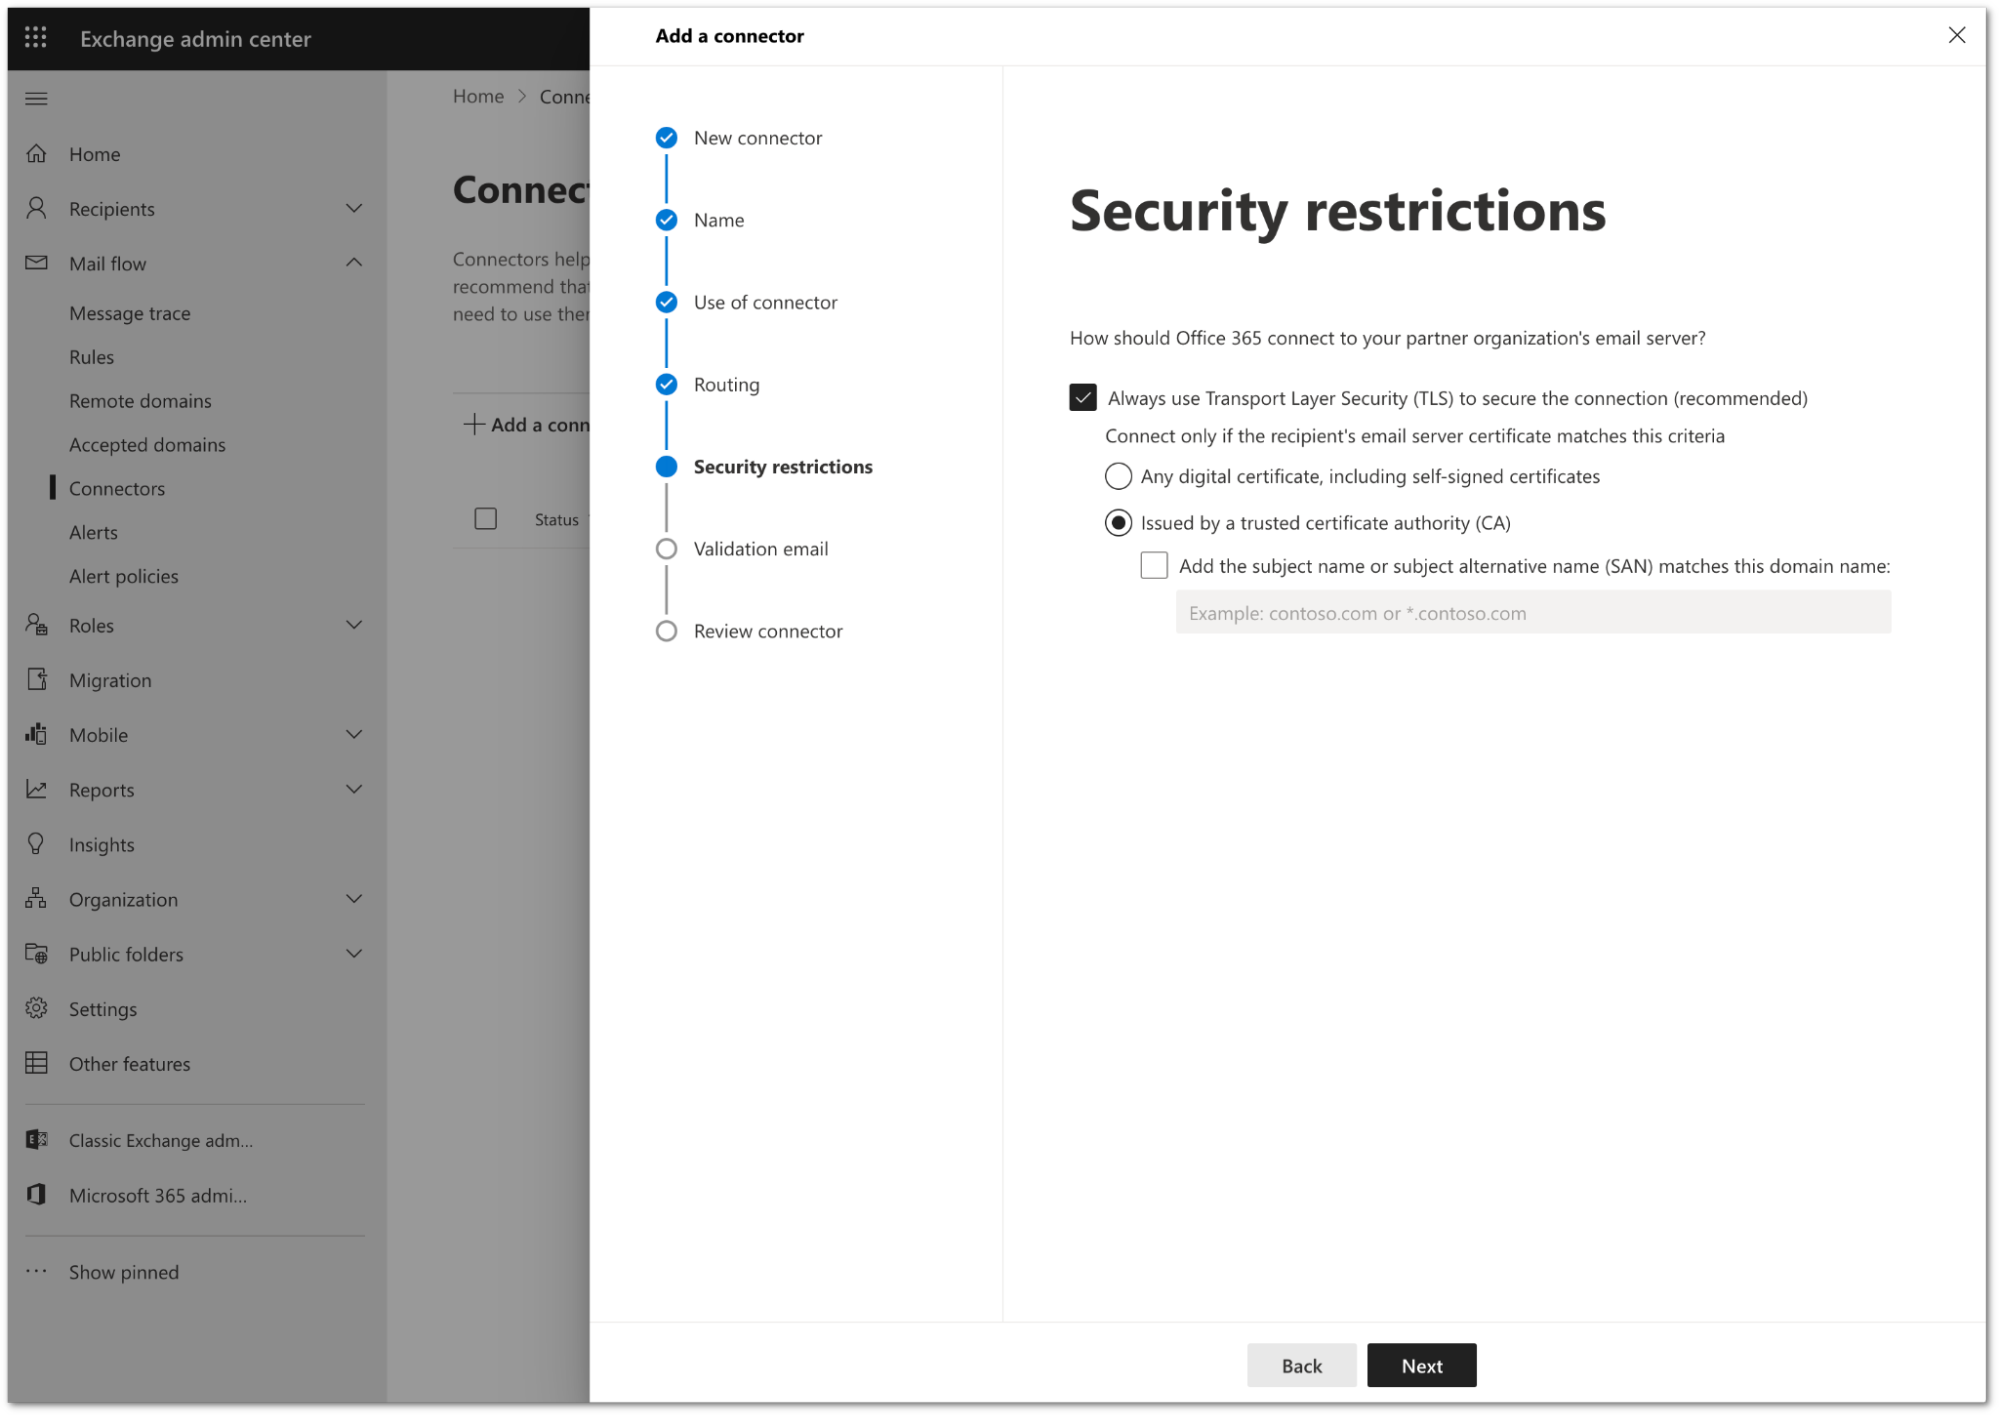
Select Next.
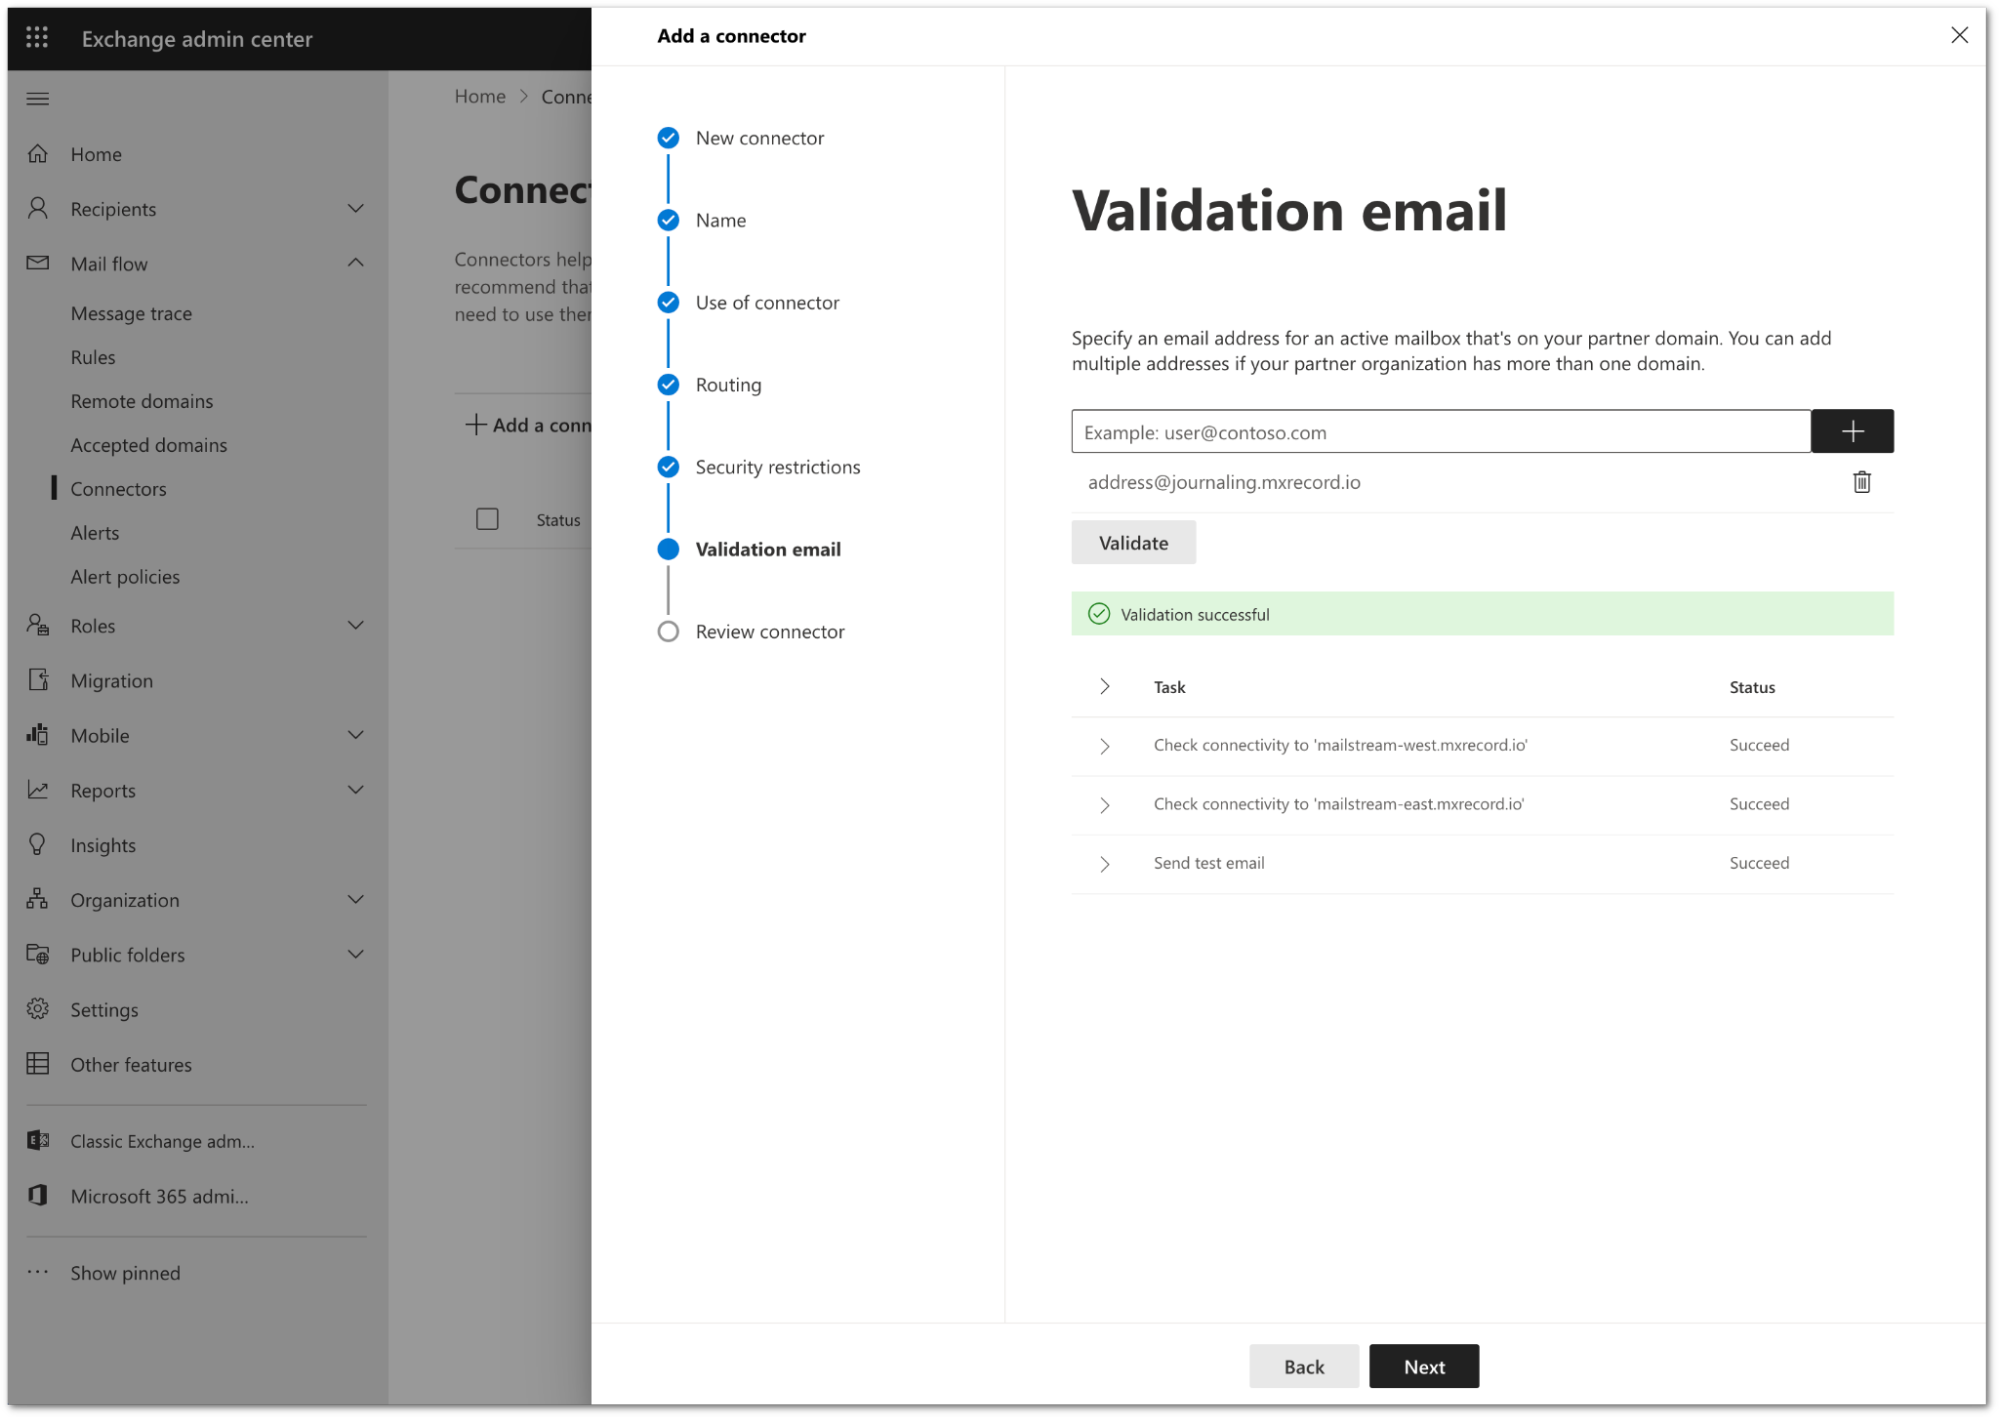
You need to validate the connector by using your tenant’s specific journaling address. To find this address, go to the Area 1 dashboard > Support > Service Addresses page.
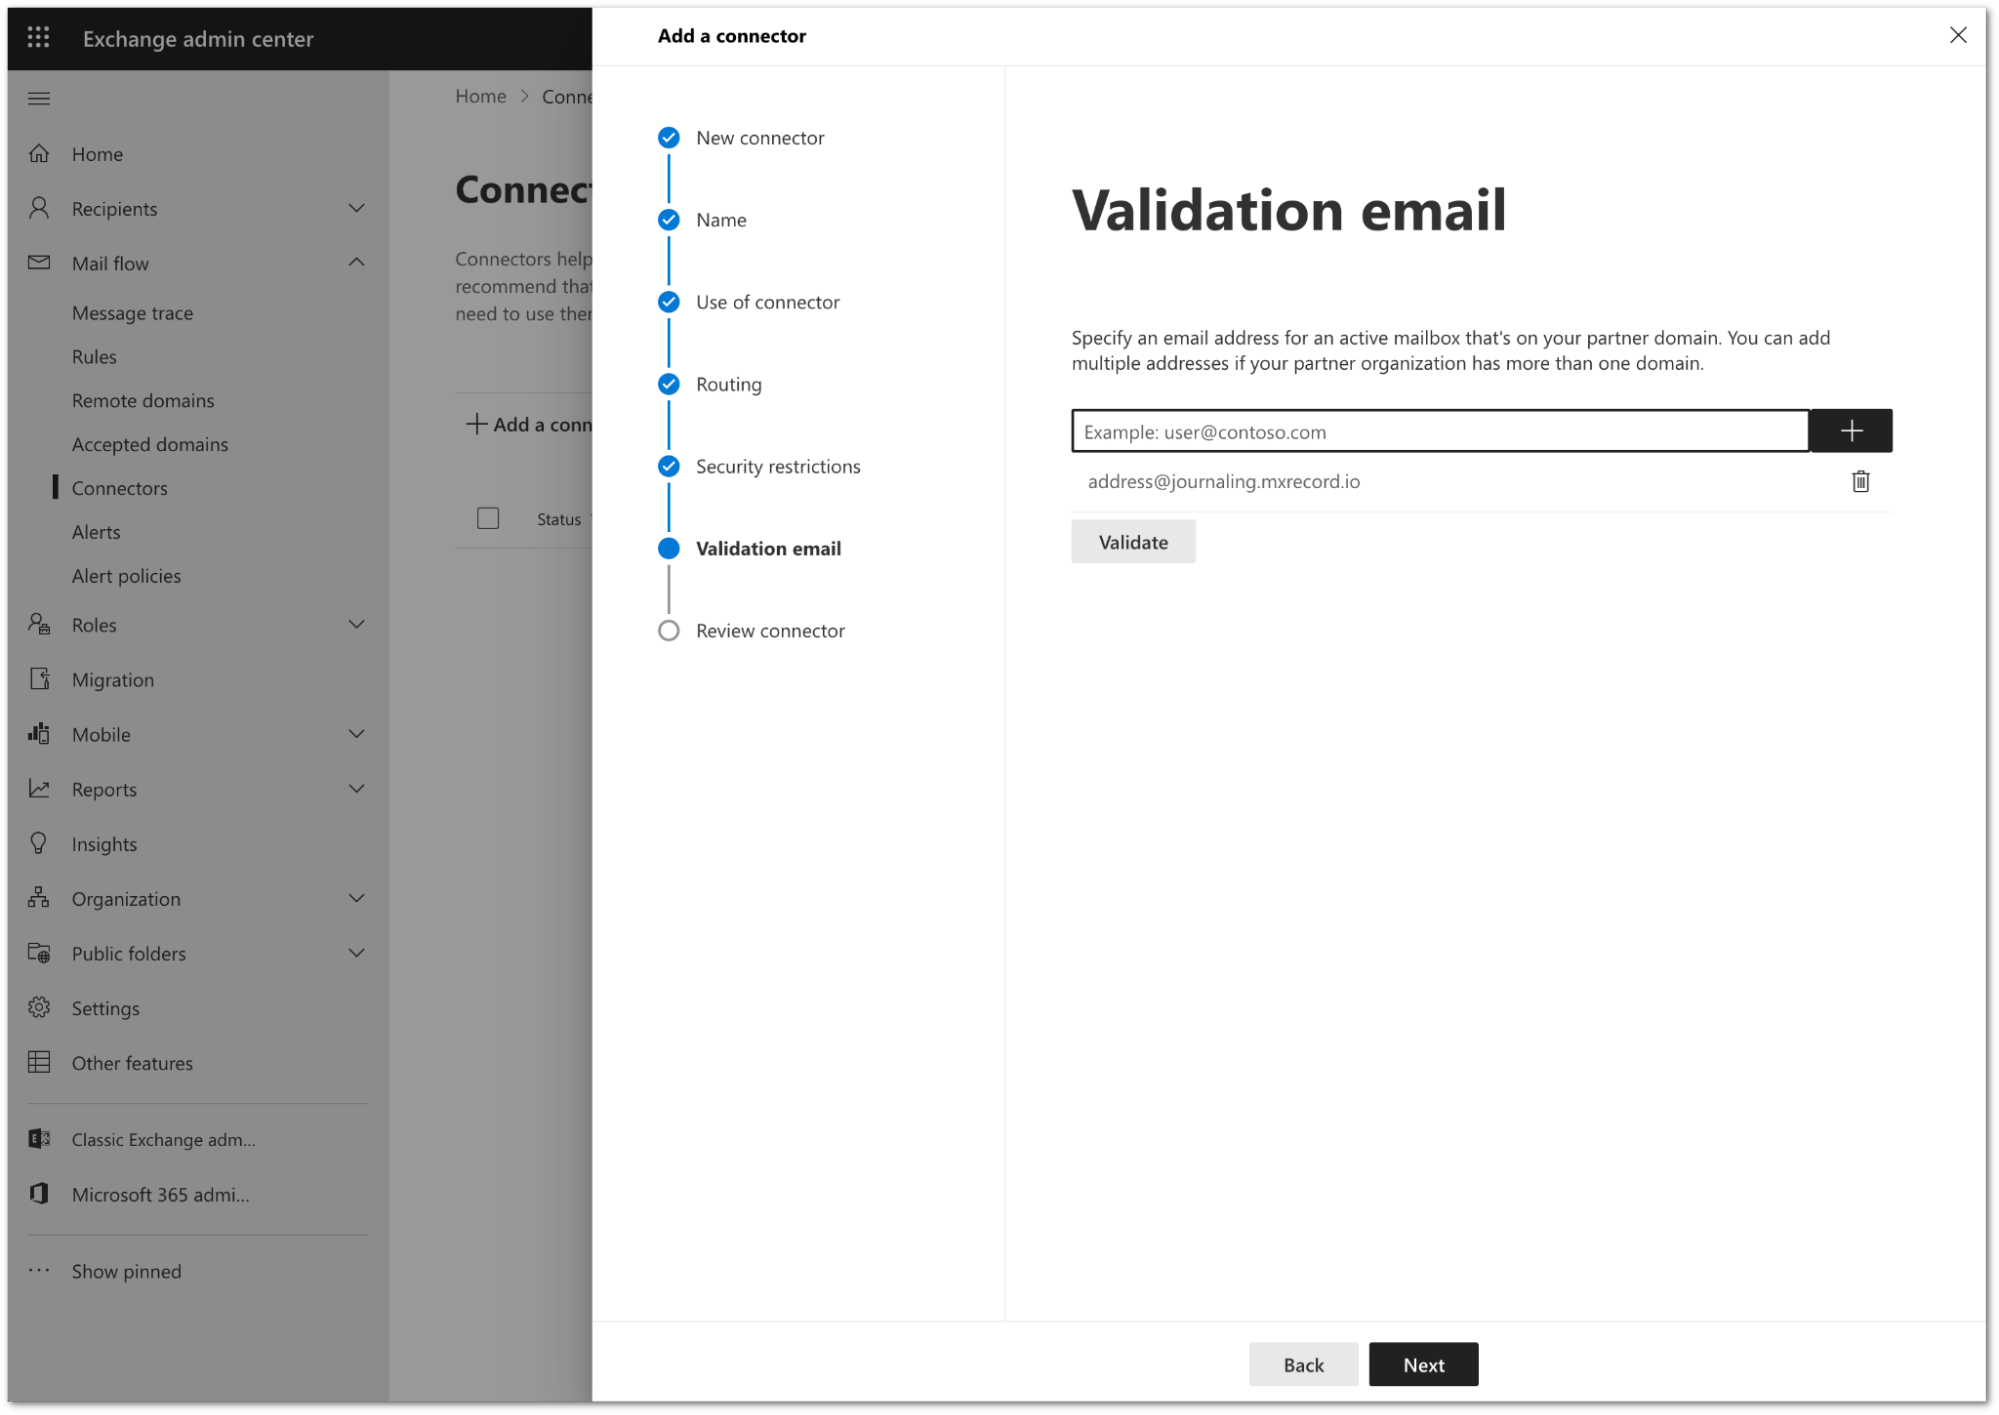
Add the address and select Validate.
Once the validation completes, you should receive a Succeed status for all the tasks. Select Next.
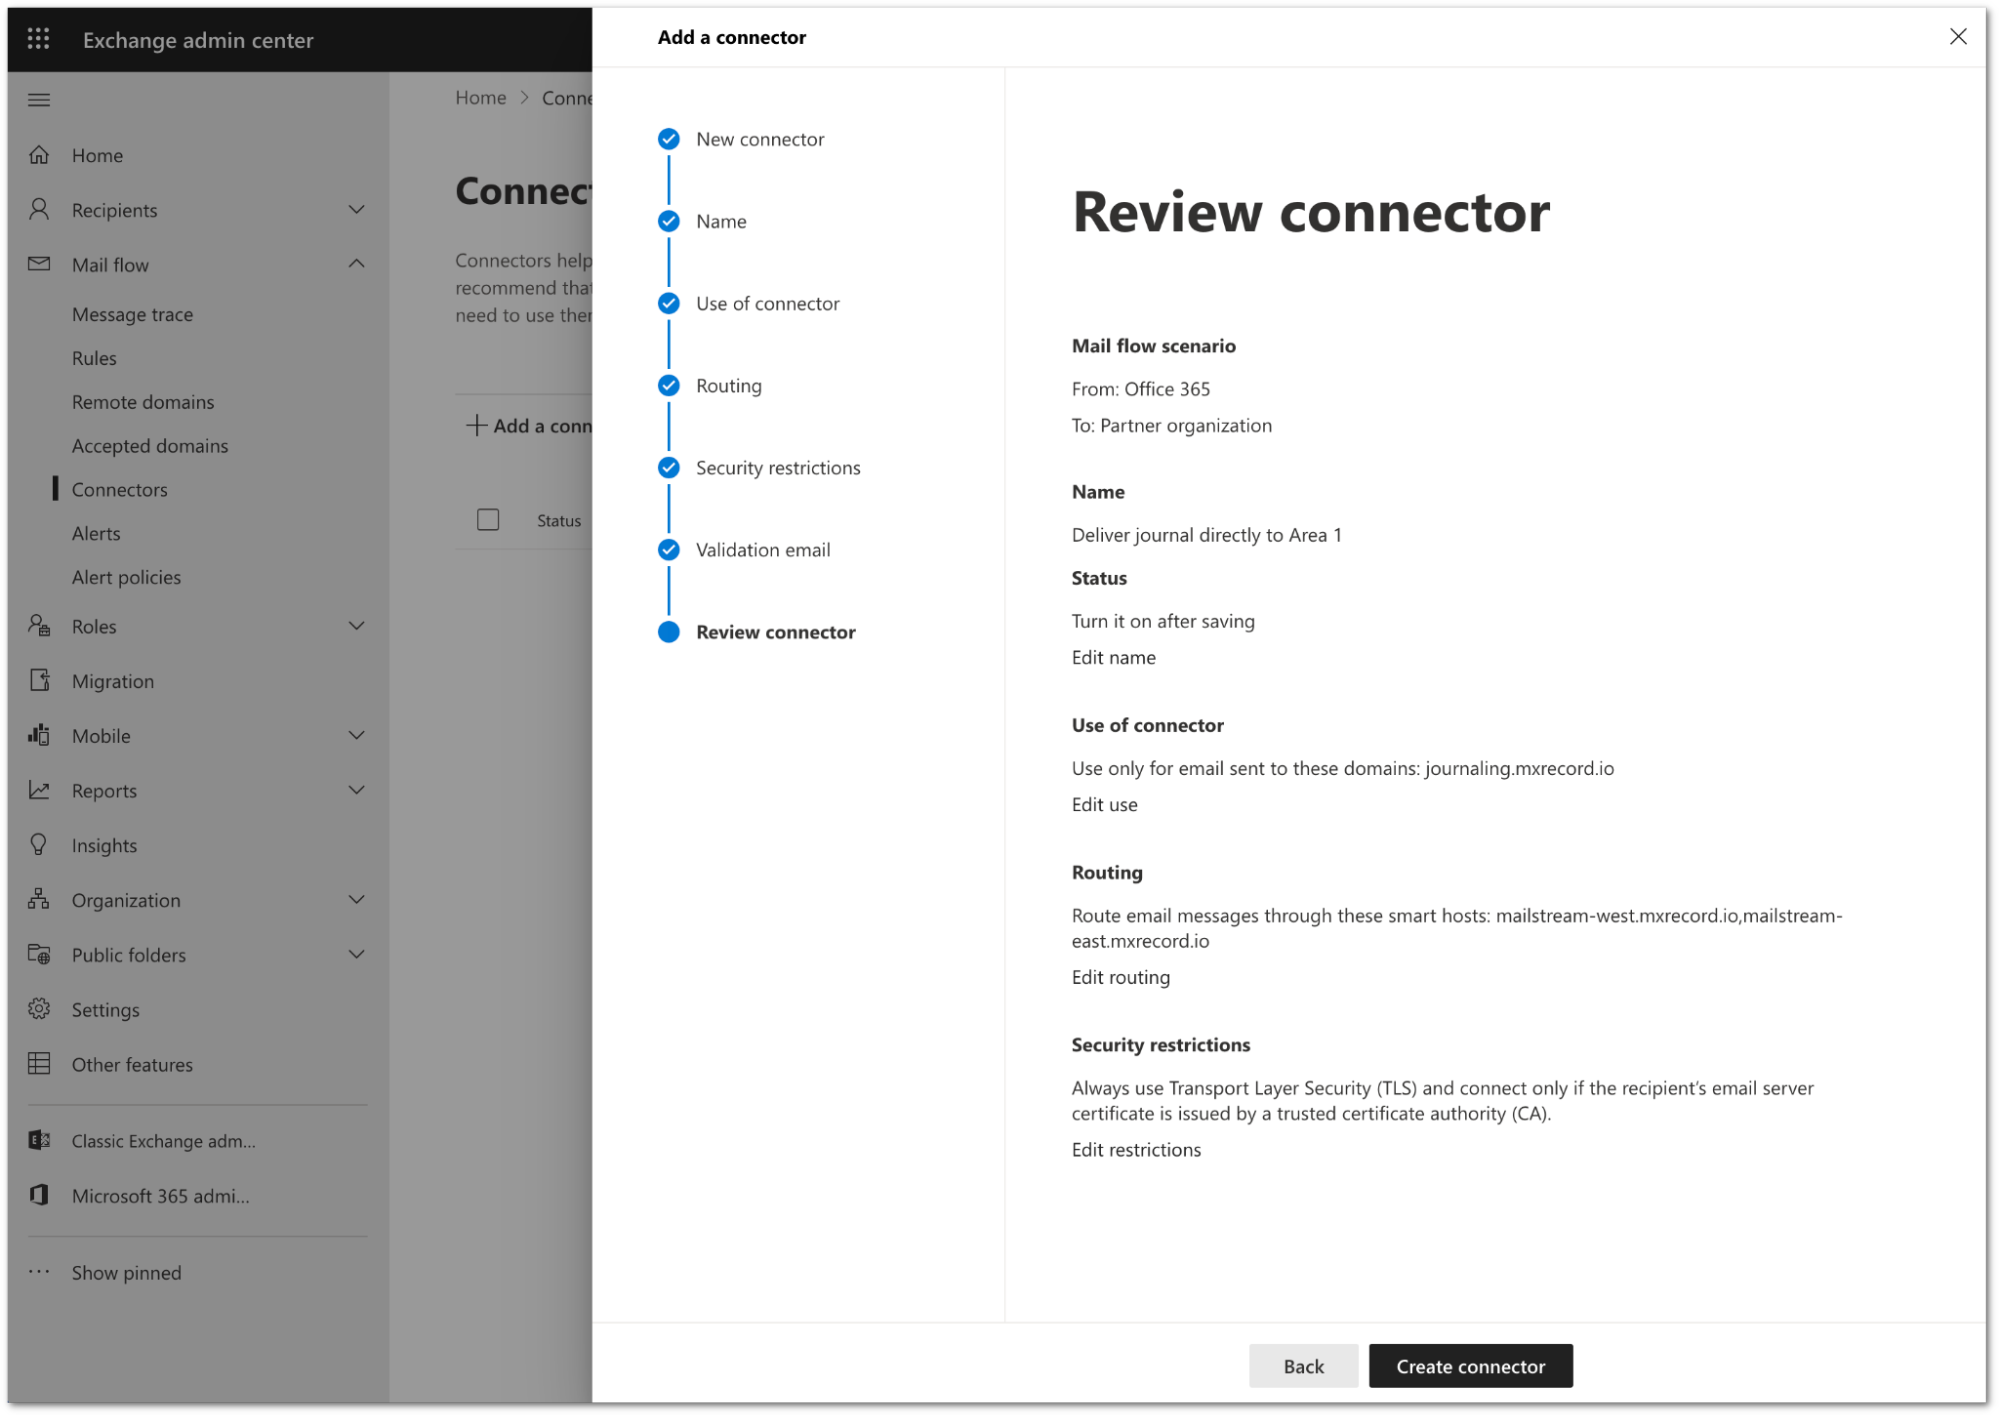
Review the configuration and select Create connector.
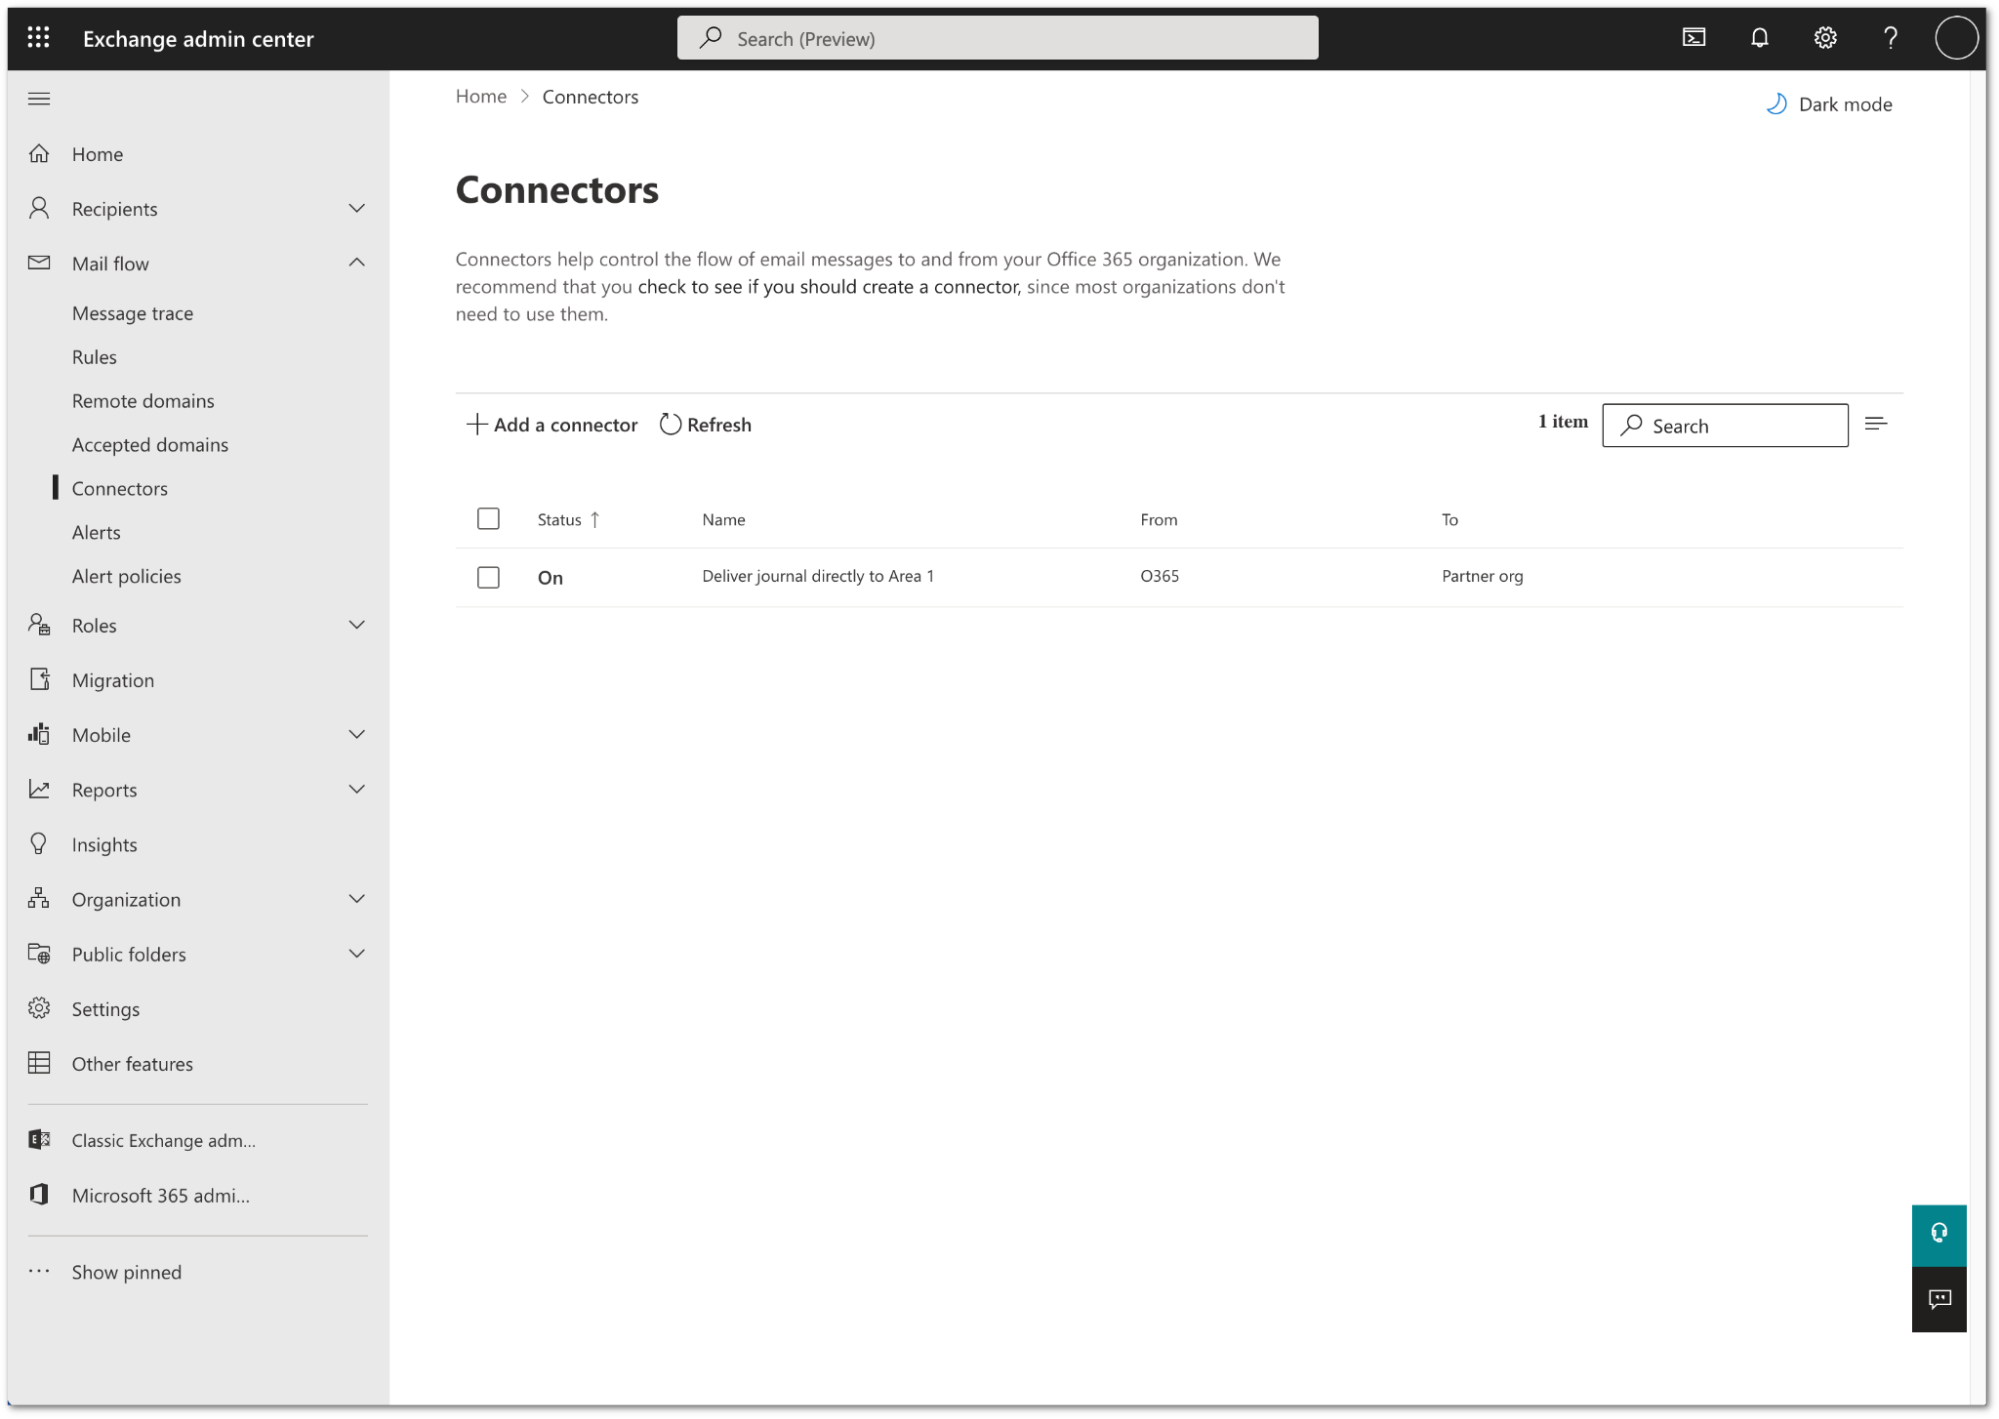
Your connector is now active. You can find it in Exchange admin center > Mail flow > Connectors.
2. Configure journal rule
Log in to the Microsoft Purview compliance portal.
Navigate to Purview compliance portal > Data lifecycle management > Exchange (legacy).
Select Settings (the gear icon).
In Send undeliverable journal reports to enter the email address of a valid user account. Note that you cannot use a team or group address.
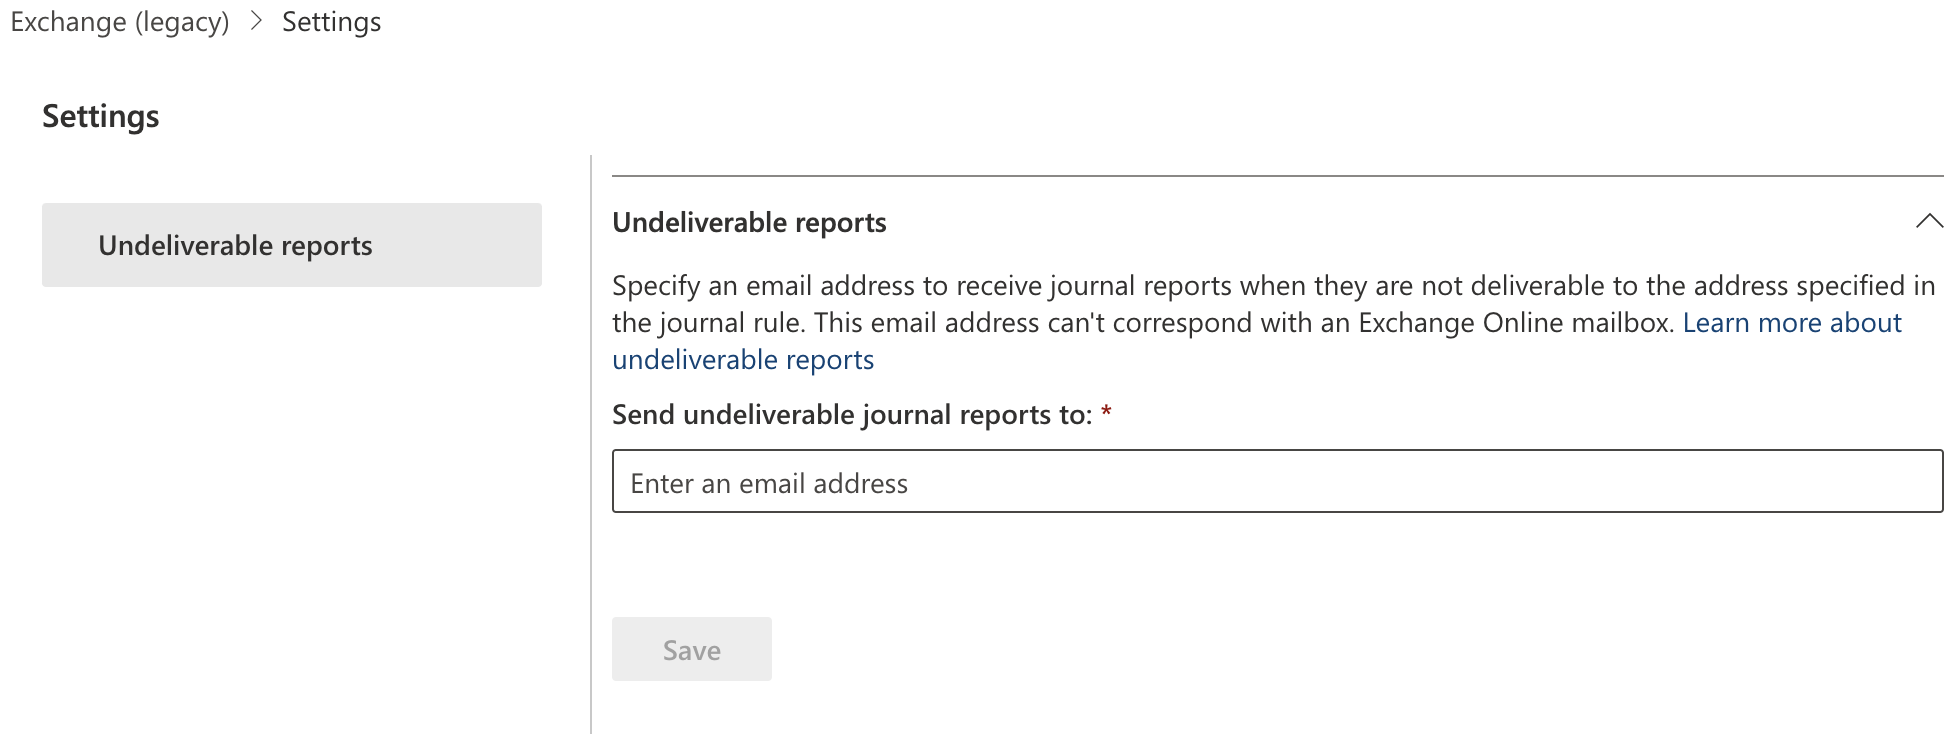
Select Save.
Still in the Exchange (legacy) screen, select Journal Rules.
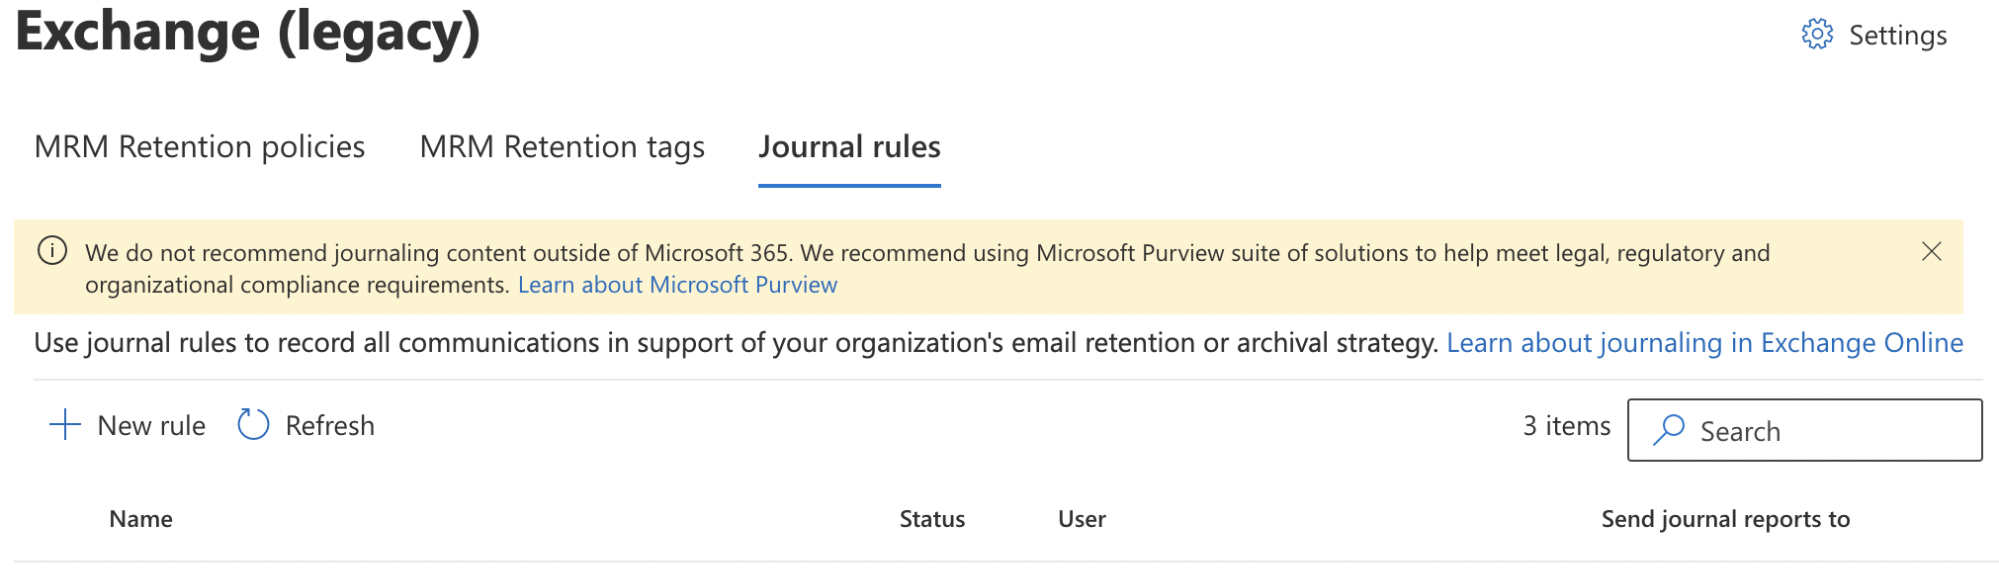
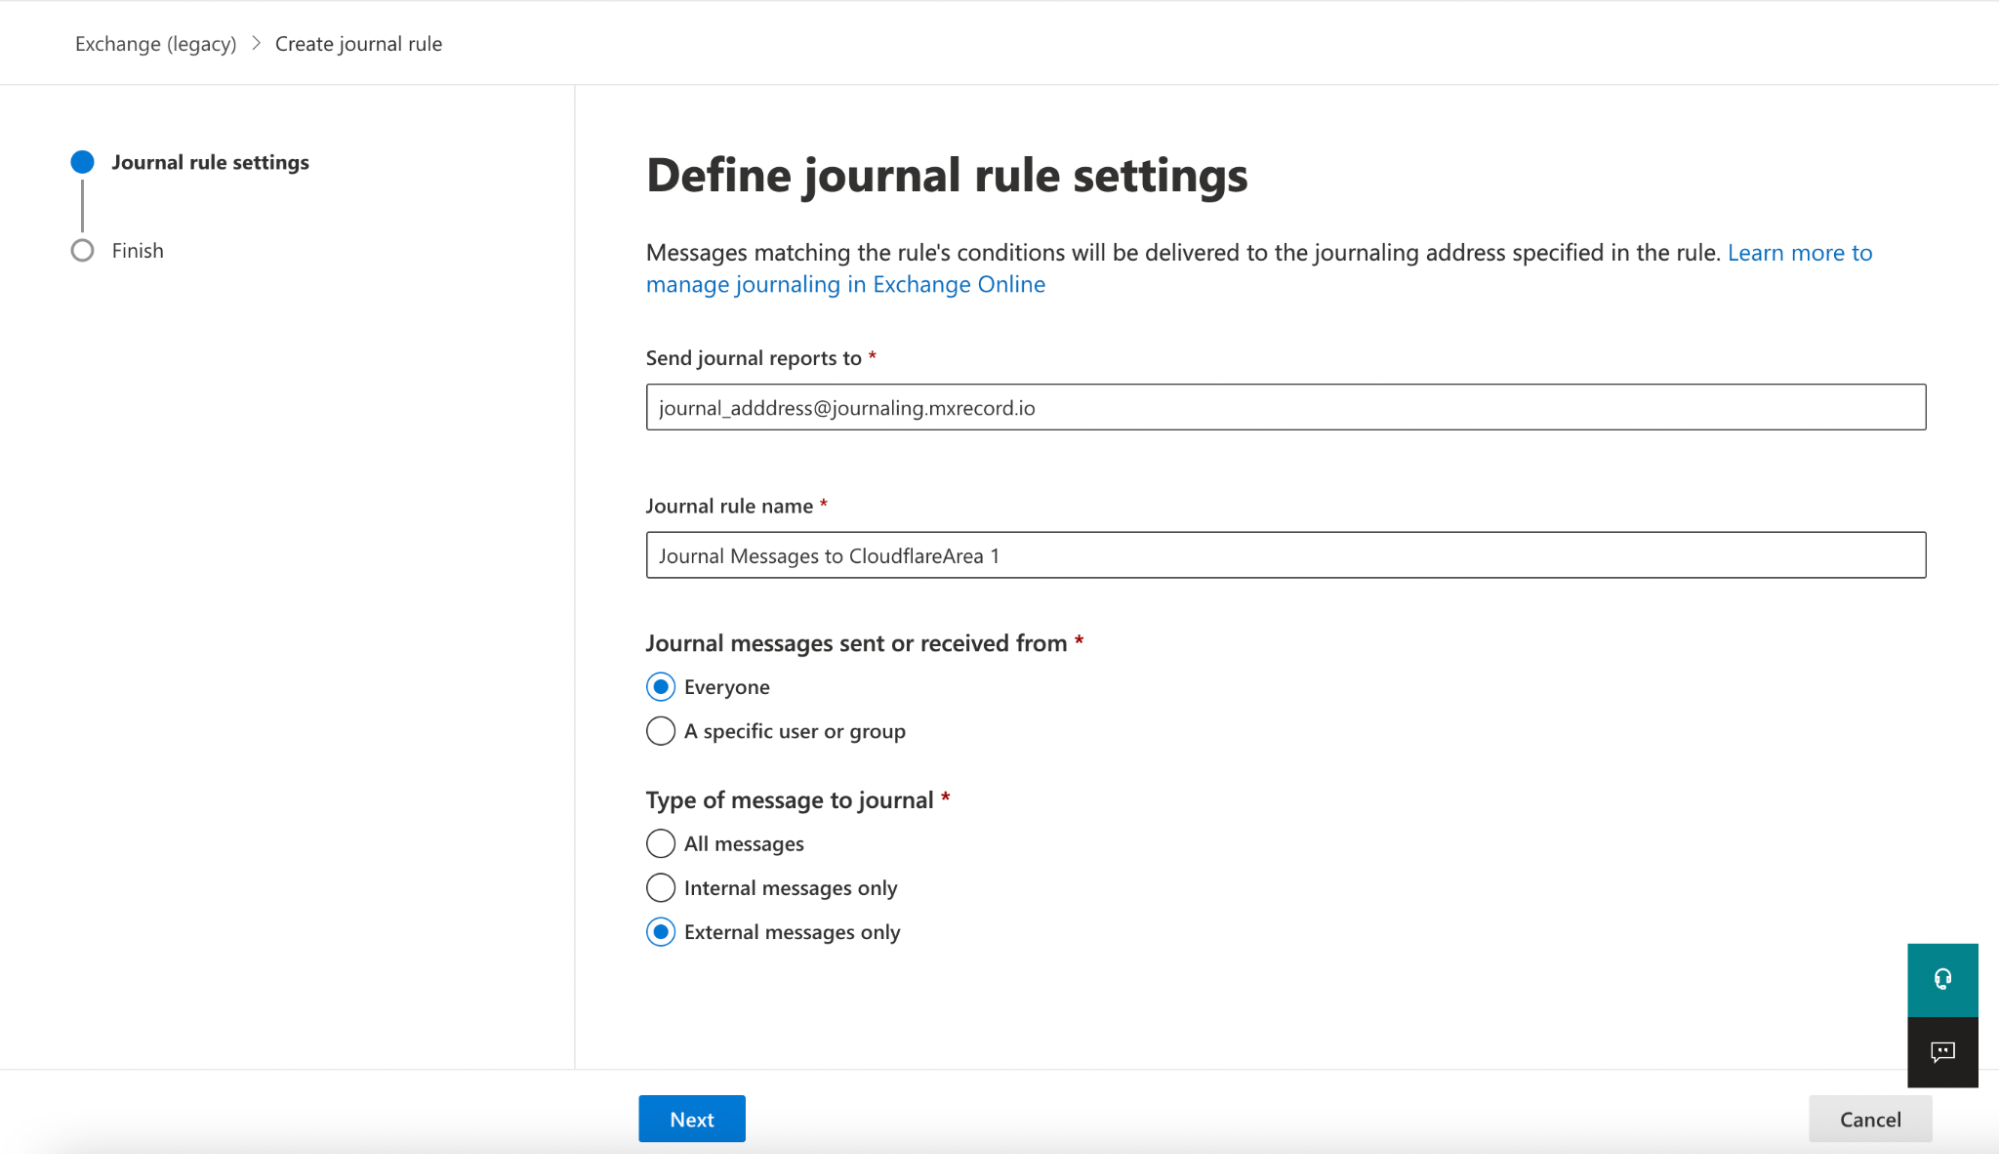
Select New rule to configure a journaling rule, and configure it as follows:
- Send journal reports to: This address is specific to each customer tenant, and can be found in your Area 1 dashboard. If you are located in the EU or GDPR applies to your organization, ensure you are using a connector with the smart host set to
mailstream-eu1.mxrecord.io. Refer to step 9 of Configure connector for delivery to Area 1 for more information. - Journal Rule Name:
Journal Messages to CloudflareArea 1 - Journal messages sent or received from: Everyone
- If you wish to restrict this rule to specific users or groups select A specific user or group, and select the list of users/groups from the window that opens. Refer to Create a distribution group to learn how to create groups.
- Type of message to journal: External messages only
- Send journal reports to: This address is specific to each customer tenant, and can be found in your Area 1 dashboard. If you are located in the EU or GDPR applies to your organization, ensure you are using a connector with the smart host set to
Select Next.
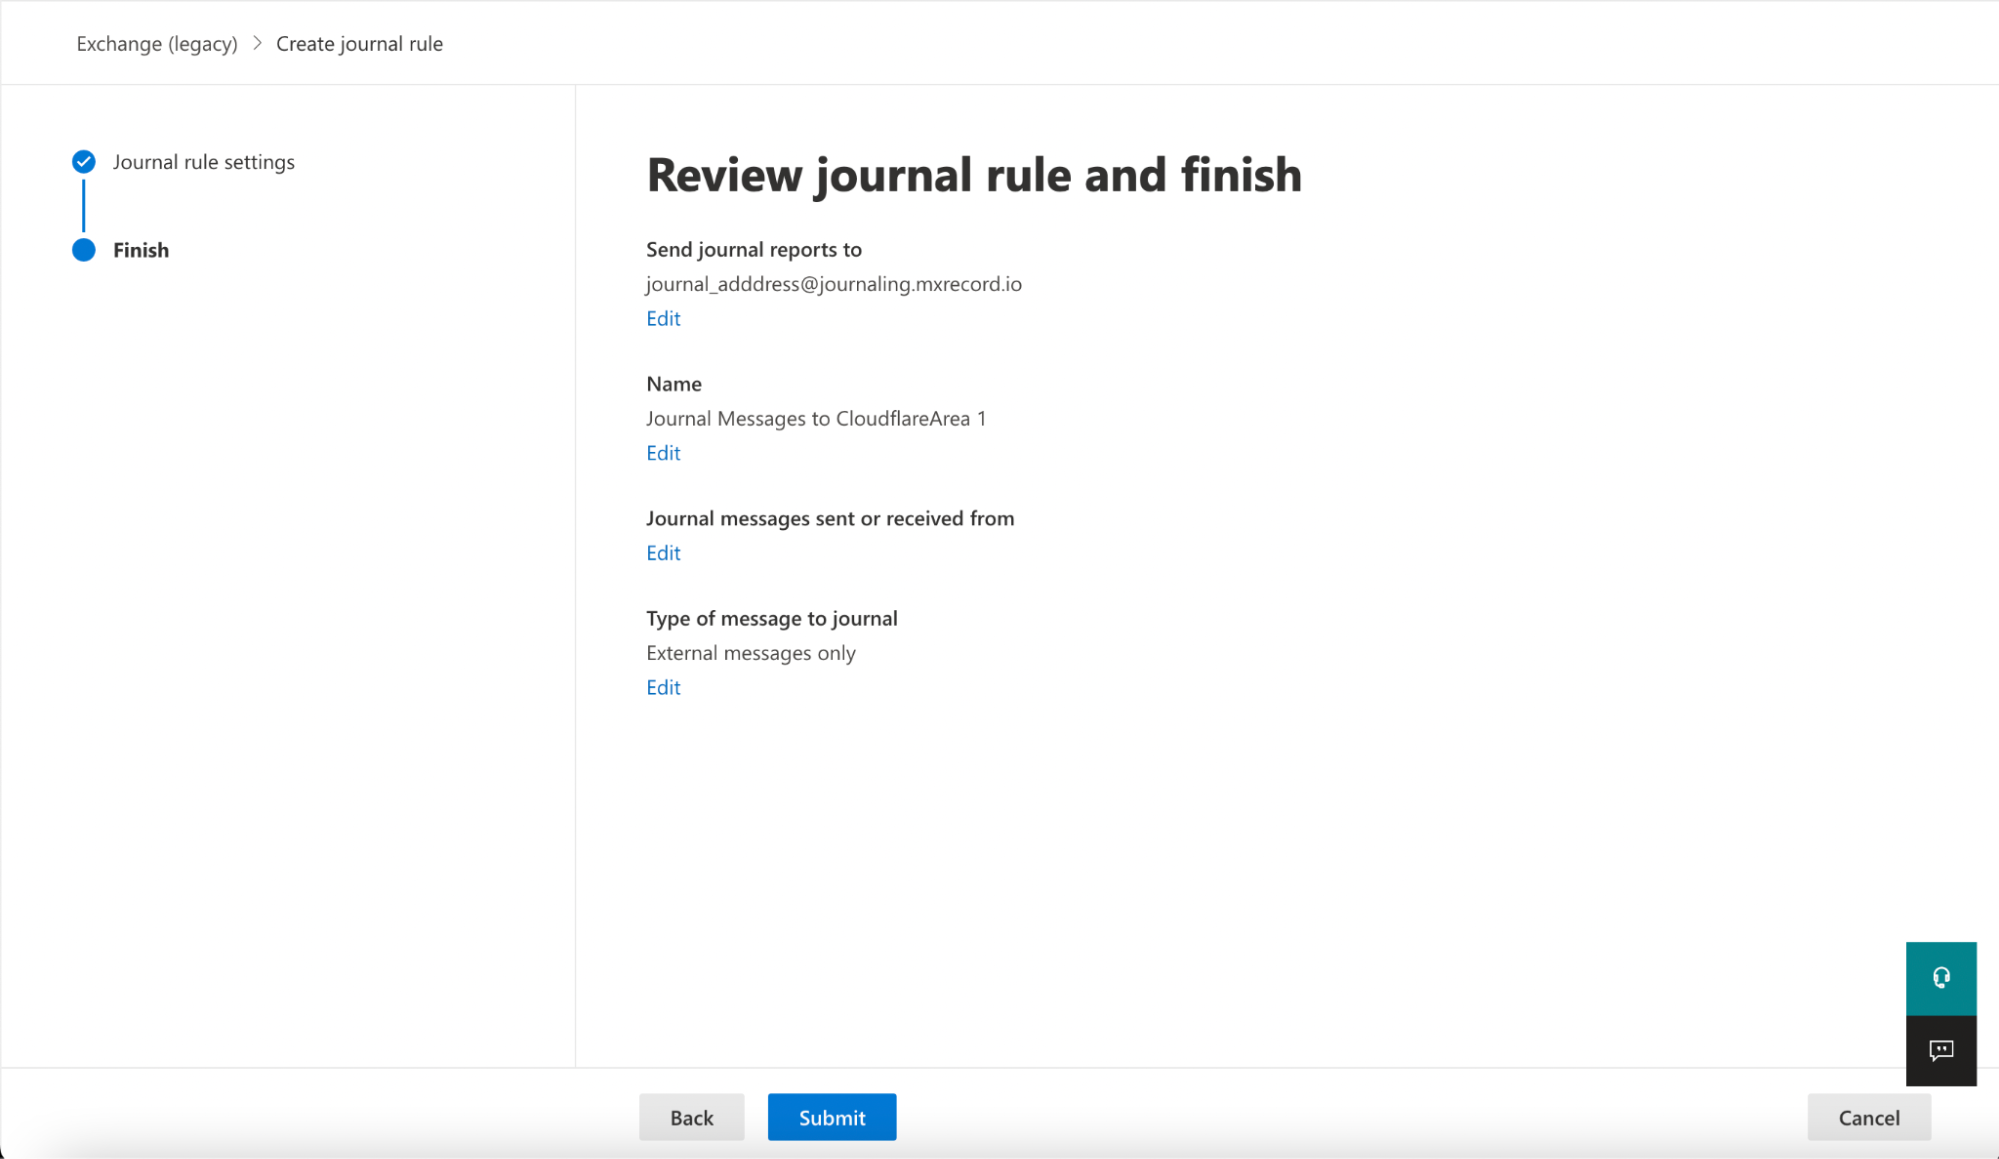
Verify the information is correct, and select Submit > Done.
Once saved, the rule is automatically active. However, it may take a few minutes for the configuration to propagate and start pushing messages to Cloudflare Area 1. After it propagates, you can access the Cloudflare Area 1 dashboard to check the number of messages processed. This number will grow as journaled messages are sent to Cloudflare Area 1 from your Exchange server.